
Last updated November 15, 2026
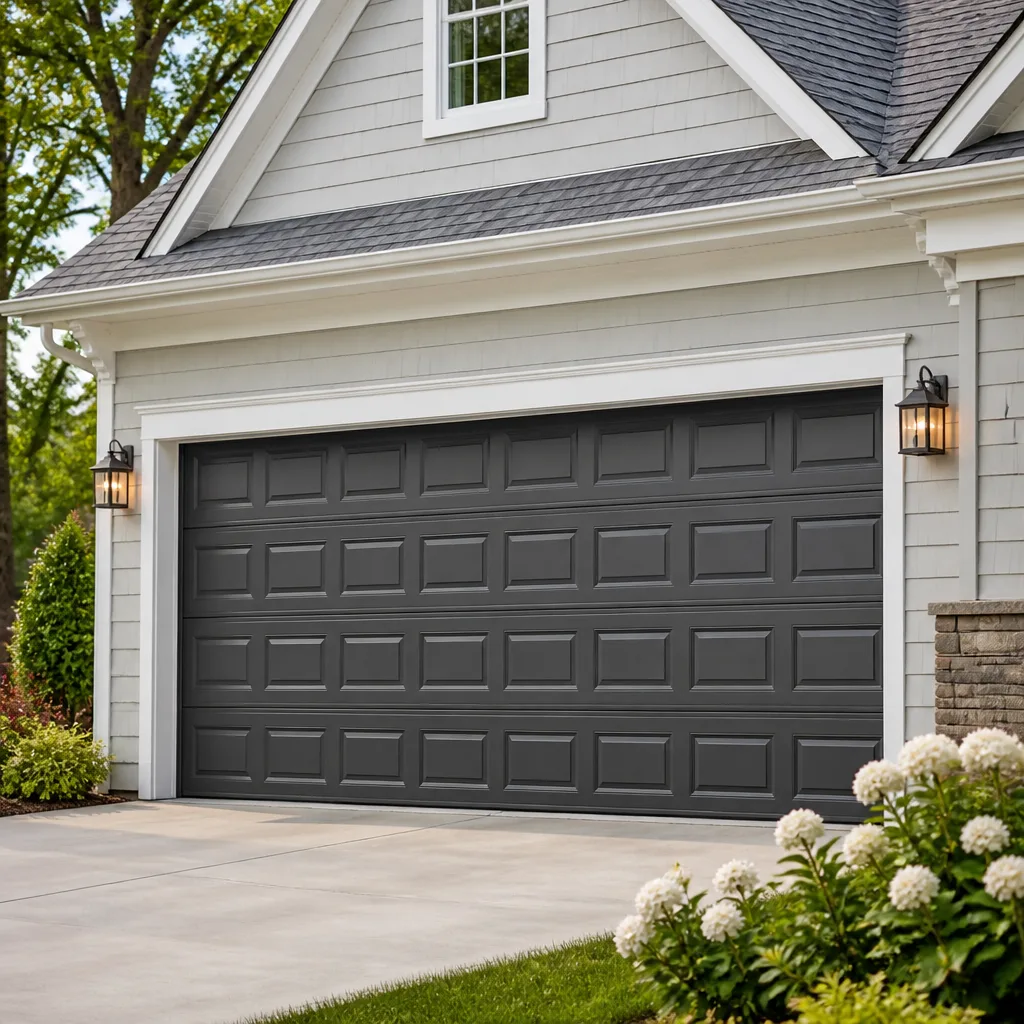 Raised-panel steel
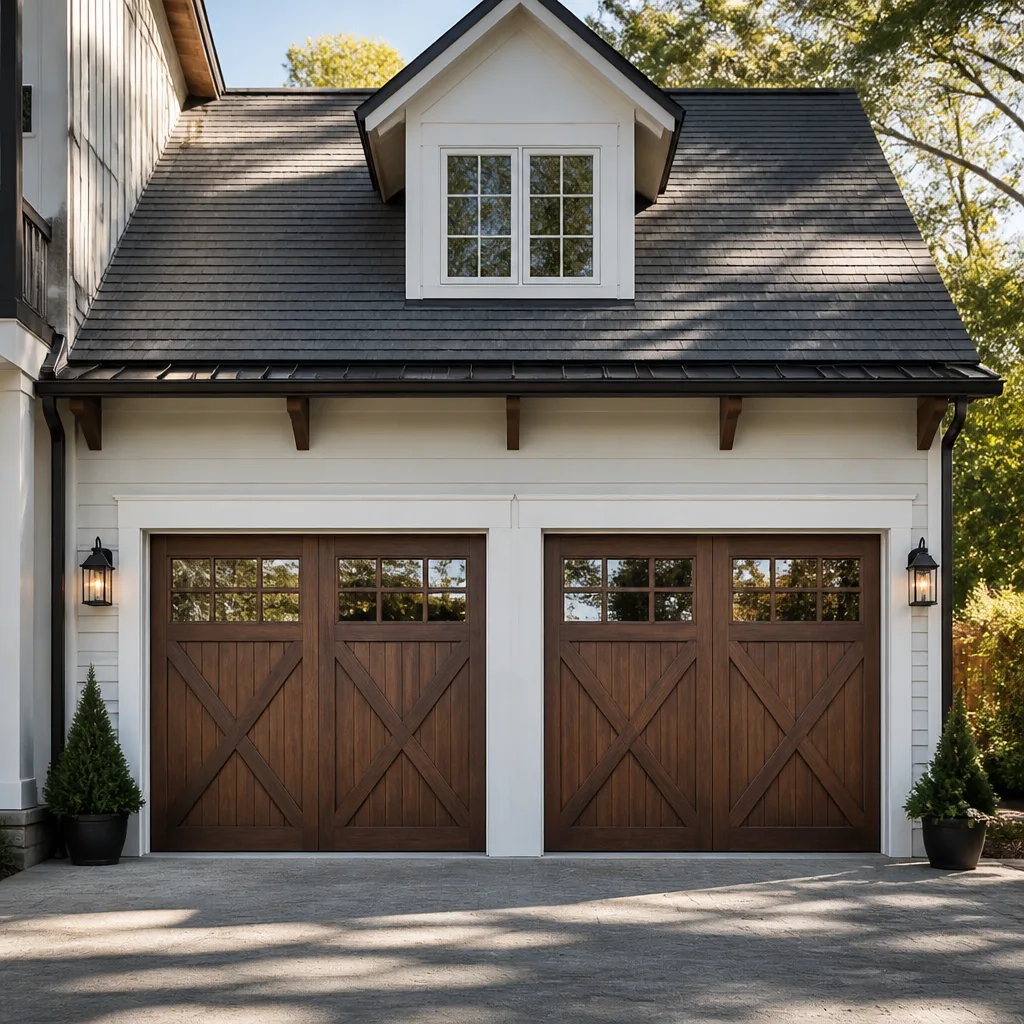 Carriage house
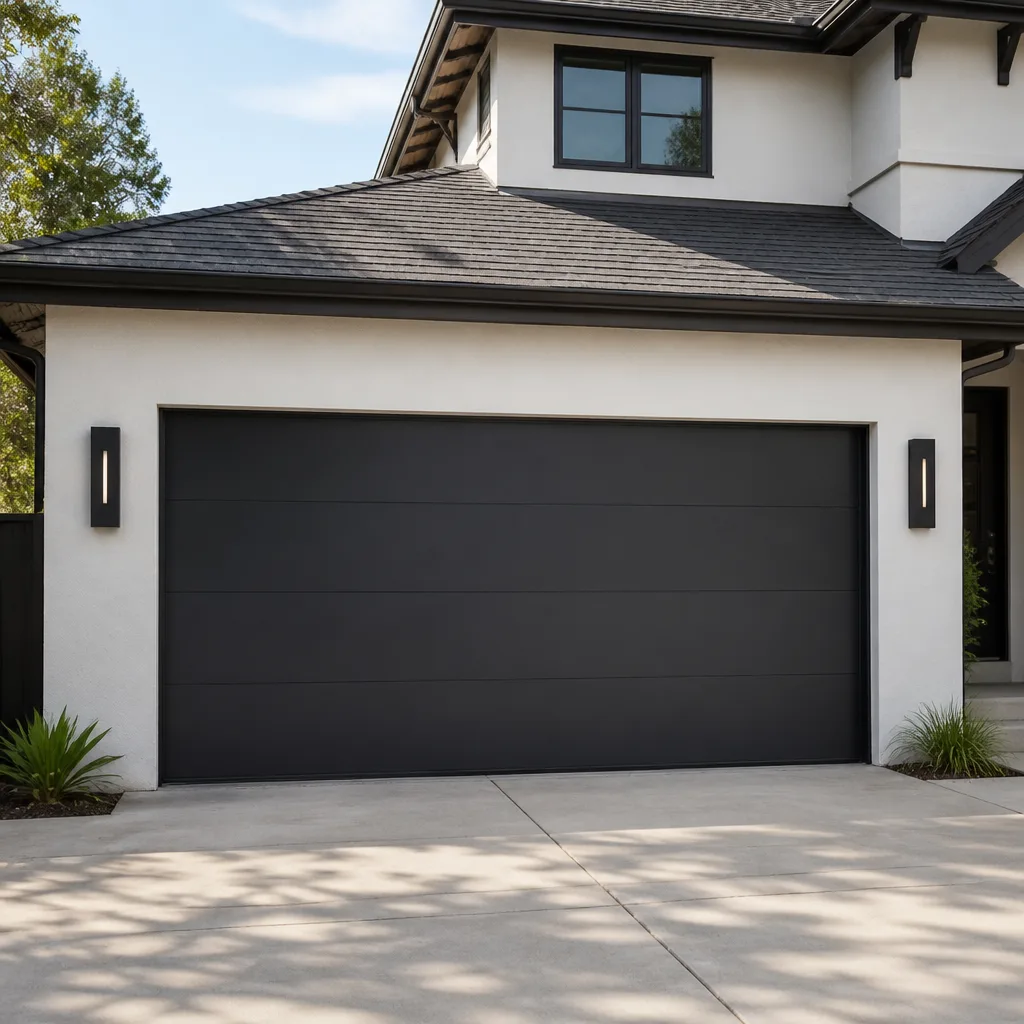 Modern flush
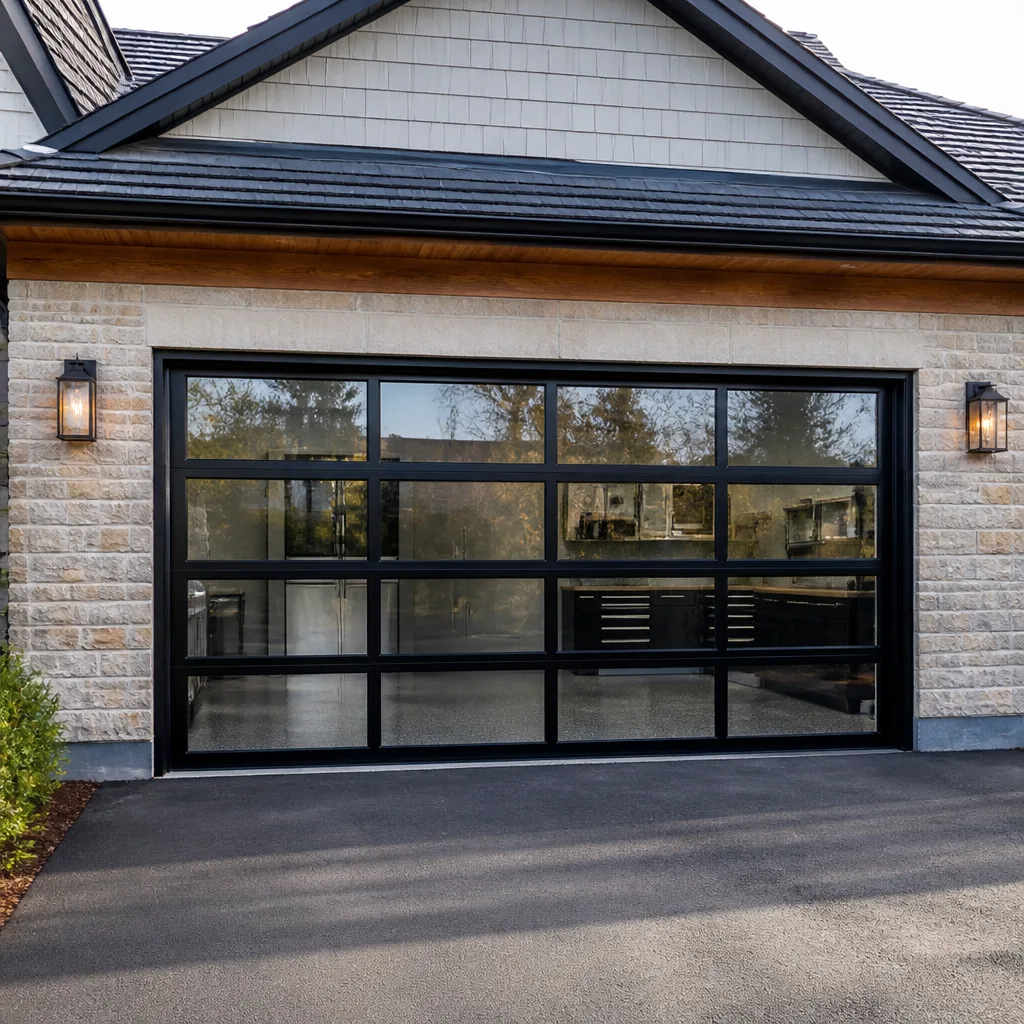 Full-view glass
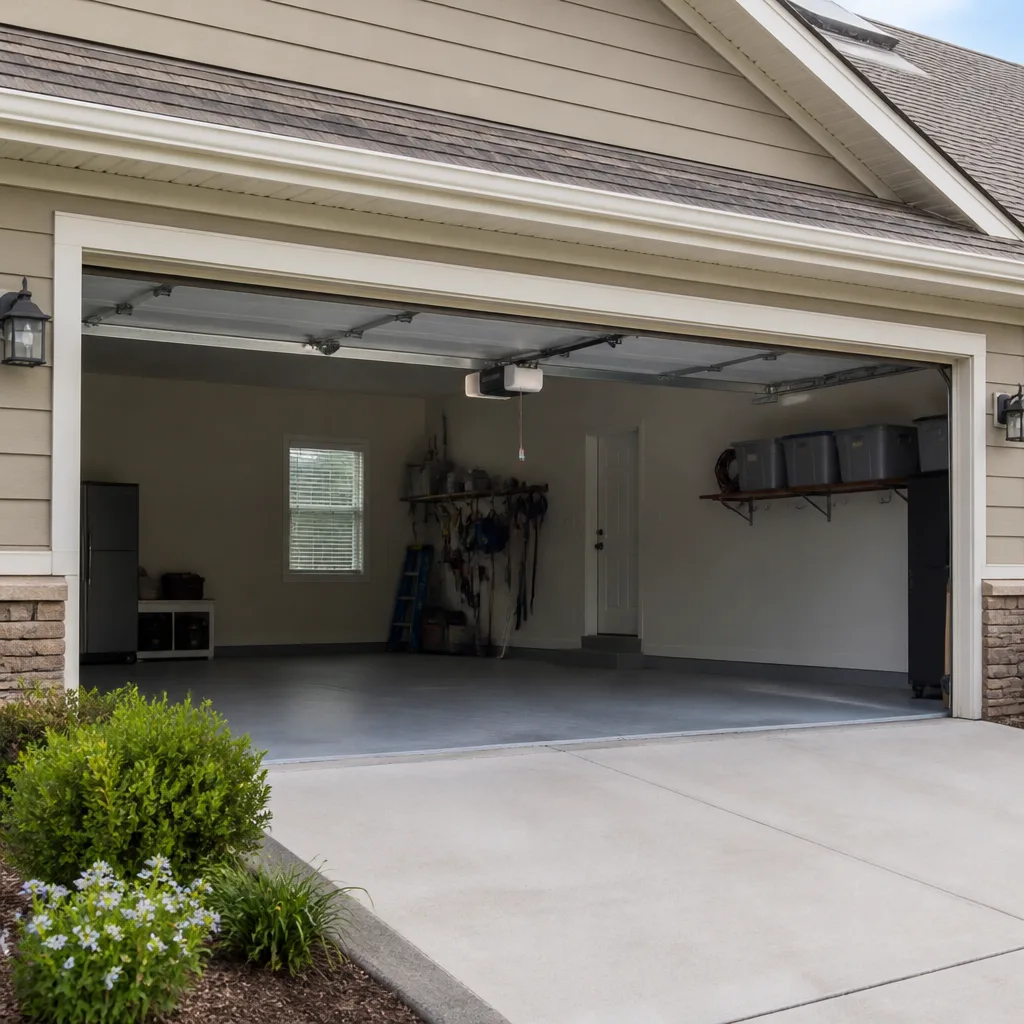 LiftMaster openers
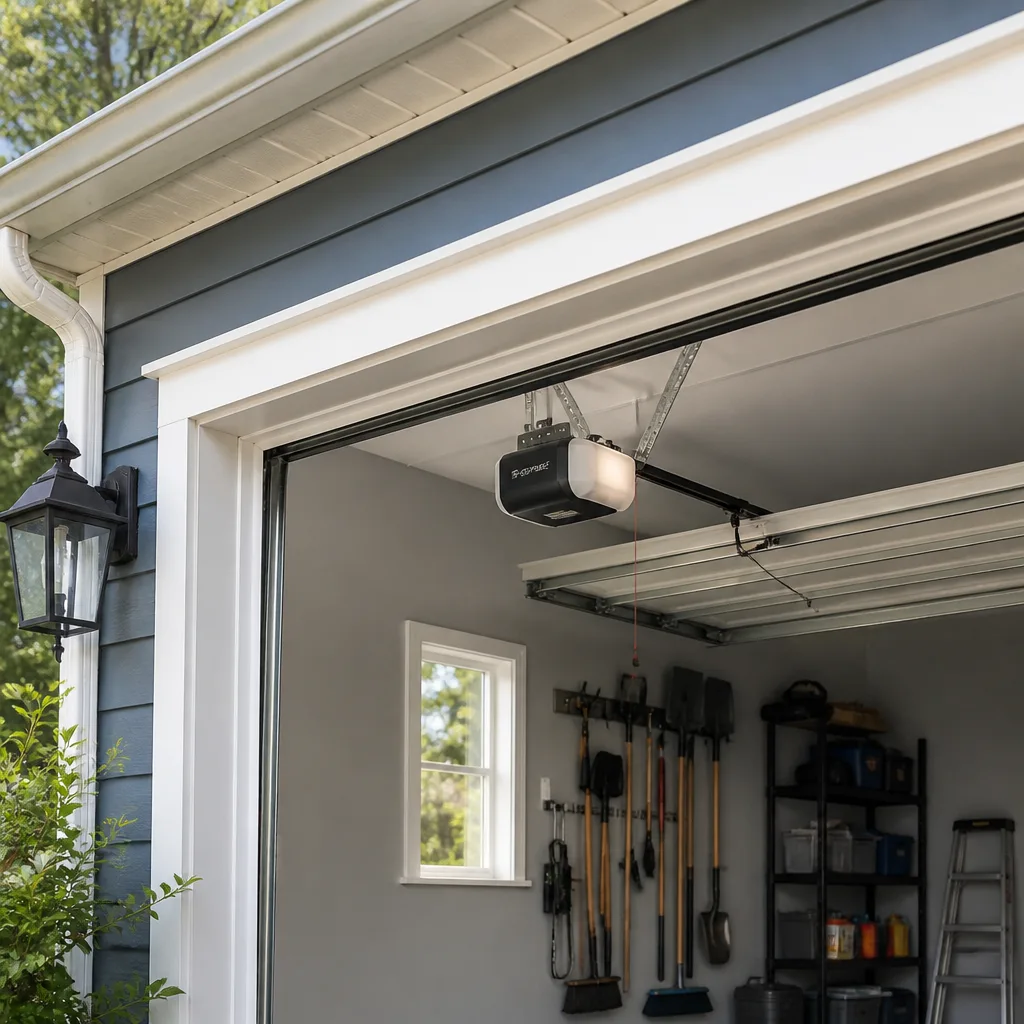 Chamberlain openers
Full 25-point door and opener safety check with every visit - springs, cables, rollers, tracks, and your LiftMaster or Chamberlain opener included
You get a price before we start. It does not change when the pro arrives.
Get your free estimateGarage Door Repair Maintenance Schedule: What to Do and When
Most garage door maintenance advice is built around the calendar: lubricate twice a year, inspect once a year, call someone if it breaks. That framework is wrong. A garage door wears out by cycles, not by months, and the average Vallejo household opens and closes theirs more than 1,500 times a year. Most torsion springs are rated for about 10,000 cycles. Do the arithmetic and your spring is on a countdown, and nobody handed you the odometer. This guide replaces vague timing with specific triggers: cycle-based milestones, a two-season Vallejo checklist, the right lubricant for each component, a balance test you can run in three minutes, and the questions that tell you whether a professional inspection was thorough or rushed.
Quick Answer
Base your garage door maintenance on cycle counts, not the calendar: schedule a homeowner check every 2,500 cycles (roughly every 18 to 20 months for most Vallejo households), a five-minute balance and safety test once a quarter, and a professional inspection once a year. Add two seasonal walkarounds, one before the rainy season and one before summer heat, and you’ll catch most problems before they strand you.
Styles & brands we work with
- Raised-panel steel
- Carriage house
- Modern flush
- Full-view glass
- LiftMaster openers
- Chamberlain openers
Table of Contents
- Why Cycles Beat Calendars
- How to Estimate Where Your Door Sits Today
- The 2,500-Cycle Maintenance Milestones
- The Vallejo Seasonal Checklist: October vs. May
- Which Lubricant Goes Where (and Which One Ruins Parts)
- The Five-Point Balance Test
- What a Real Annual Inspection Includes
- Signs Your Door Needs Attention Now
Why Cycles Beat Calendars
A cycle is one full open plus one full close. Every cycle bends the springs, rolls the bearings, drags the rollers through the track, and loads the opener’s drive gear. Two identical homes on the same street can be a decade apart in wear simply because one household leaves twice a day and the other leaves six times. Calendar advice treats them the same. Cycles don’t.
That distinction matters more in Vallejo than in most places because household patterns here are so varied. A retired couple commuting nowhere might log 600 cycles a year. A family with two working adults, school runs, and evening errands can easily clear 1,800. Same door model, same neighborhood, triple the wear on one. “Lubricate twice a year” assumes both doors need the same attention at the same time, and they don’t.
Cycle counts also let you predict failure instead of reacting to it. A torsion spring rated for roughly 10,000 cycles typically doesn’t snap at random. It gives warning: the door starts feeling heavier, the opener strains at the top of travel, and the balance drifts. If you know you’re past 8,000 cycles, you’re inside the window where those warnings matter. You can plan the repair instead of discovering it at 7am with the car trapped inside.
What you’ll learn in this guide is how to build a schedule from those numbers, what to check at each milestone, and how the two seasonal pressure points in Vallejo’s year should shape your checklist. We’ve worked on enough doors across Genie, Clopay, Amarr, and Wayne Dalton systems to know that the schedule itself does most of the work. The repair is usually the smaller part.
How to Estimate Where Your Door Sits Today
You don’t need a counter. You need a rough multiplier and a couple of questions. Start with a daily average, multiply by the days the household used the door, and you’ll land close enough to place yourself between milestones.
- Count a typical day. Sit down and tally every departure and return for the household on a normal weekday. Each one is one cycle. Double it if both directions feel heavy in your routine (morning out, afternoon back, evening out again).
- Add the weekend bump. Sundays usually run higher: errands, visits, yard work, kids in and out. If your Saturday is busy, add about four extra cycles that day.
- Multiply by months in service. A door that’s been used this way for five years at 1,500 cycles a year is around 7,500 cycles in.
- Adjust for the unknown. If you moved into the house and don’t know the prior household’s habits, assume a moderate 1,200 cycles a year for the time before you arrived. When in doubt, round up.
- Note the baseline. Write the date and your estimate inside the frame on a small sticker or a note taped to the wall. From here on, you’re tracking, not guessing.
A household that leaves and returns four times a day on weekdays and six times on weekends is logging roughly 1,100 to 1,500 cycles a year. That’s the shape of most Vallejo homes we see. If your number comes out above 2,000, your maintenance intervals should compress accordingly: every milestone arrives sooner, and the annual inspection stops being optional.
The estimate only needs to be good enough to tell you three things: whether you’re due for lubrication, whether you’re approaching the wear window on your springs, and whether the professional inspection should happen sooner than you’d planned. Precision isn’t the point. Position is. For a full walkthrough of what repair work actually involves when something fails, our garage door repair page covers the mechanical side.
The 2,500-Cycle Maintenance Milestones
A 2,500-cycle interval works because it divides the typical spring’s rated life into four clean checkpoints. At each one, you’re asking a different question about the door. Here’s what each milestone covers.
Milestone 1: 2,500 Cycles (About 18-20 Months for Most Homes)
- Lubricate hinges, rollers, and the torsion spring with the correct product (see the lubricant section below).
- Wipe and inspect the weatherstripping along the sides and top.
- Check the bottom seal for cracking or compression set.
- Run the balance test and record the result.
- Test the safety reverse with a solid object laid in the door’s path.
Milestone 2: 5,000 Cycles
- Everything above, plus a close look at the rollers for flat spots or wobble.
- Inspect the hinges for loose screws and worn knuckles; tighten anything that has backed out.
- Look at the track for dents or misalignment, especially the curved section above the door.
- Check the opener’s drive: chain or belt tension, and whether the rail bolts are snug.
Milestone 3: 7,500 Cycles
This is the early-warning checkpoint. Springs are typically past 75% of rated life, so listen and feel for changes: a door that’s harder to lift by hand, a bang at the end of travel, or a slight droop on one side. Book a professional inspection at this milestone even if nothing seems wrong. The garage door opener repair side deserves attention here too, since a straining motor is often the first symptom of a spring that’s lost tension.
Milestone 4: 10,000 Cycles and Beyond
At rated life, plan for spring replacement rather than waiting for the snap. A matched pair is usually replaced together, and a technician can confirm whether the rest of the system (cables, drums, bearings) is ready to go the next 10,000 with it. From here, restart the cycle count and the milestone clock.
The Vallejo Seasonal Checklist: October vs. May
Vallejo’s year has two pressure points for a garage door, and they pull in opposite directions. The rainy season puts moisture against seals and bare hardware for weeks at a time, and the summer months expand steel tracks and door panels enough to change how the door runs. Two walkarounds a year, timed to those transitions, catch most of what the cycle milestones alone wouldn’t.
The October Walkaround: Before the Rain
This one is about keeping water out and rust from starting.
- Run your hand along the bottom seal and feel for cracks, hardening, or gaps at the corners. A seal that’s lost its flexibility will let water track under the door and sit against the frame.
- Check the side and top weatherstripping for shrinkage or tears, especially where it meets the corners.
- Look at hinges, roller brackets, and the bottom bracket area for any rust bloom. Bare fasteners are the usual starting point.
- Confirm the door closes flush. A gap at one corner lets water in and is often a sign of a track or hinge shift.
- Clear the area in front of the door so water runs away from the sill rather than pooling against it.
The May Walkaround: Before the Heat
This one is about binding and expansion.
- Open and close the door slowly and listen. A new scrape or squeal in the warm months usually means steel has expanded and something is now rubbing.
- Check the vertical tracks with a straightedge or a level; heat-driven expansion can reveal a track that was already out of alignment.
- Look at the gap between the rollers and the track. If the door shudders on the way up, the rollers may be binding in the expanded track.
- Run the balance test again. Heat doesn’t change spring tension, but it does change how freely the door moves, and a door that suddenly feels heavy needs a look.
- Look at the panels for any bowing, particularly on older steel doors that have seen many summers.
If you’re in the flats or closer to the waterfront, both seasons hit a little harder: more humidity in the rainy stretch, and more heat load on a door that faces the afternoon sun. Homes further out in the hills see the same pattern, just with wider swings between the two. Same checklist either way, but a door in an exposed spot earns its walkarounds.
Which Lubricant Goes Where (and Which One Ruins Parts)
Most garage door problems we see after a homeowner maintenance attempt aren’t mechanical. They’re chemical. The wrong product in the wrong place attracts grit, or dries out rubber, or turns a smooth track into a sticky one. Here’s the map.
Use Lithium Grease or a Purpose-Made Garage Door Lubricant On:
- Rollers. The bearings inside the roller need a grease that stays put. Lithium grease or a garage-door-specific lubricant is correct here.
- Hinges. The knuckle is a high-friction point. Grease it, not oil.
- Torsion spring coils. A light coat on the coils reduces friction between the coils as they wind and unwind. Grease, applied sparingly.
- Bearings and the center plate. Same logic as the rollers.
Never Use Silicone Spray On Those Same Parts
Silicone spray feels like it works because the door quiets down for a week. Then it collects dust and grit, thins out, and leaves the bearings dry again. Repeat that cycle and you’ve accelerated wear rather than slowed it. Silicone has its place, but it isn’t on the rollers or springs.
Use Silicone Spray On:
- Weatherstripping along the sides and top. Rubber and vinyl seals need a product that conditions rather than attacks them. Silicone spray keeps them supple.
- The bottom seal. Same logic. A dry seal cracks and stops sealing.
Never Use Grease or Oil On Seals
Petroleum-based grease and oil break down rubber and vinyl. A weatherstripping that’s been greased will harden, crack, and lose its seal faster than one left alone. That’s the reverse of what you were trying to accomplish.
Never Use WD-40 On Anything That Needs Real Lubrication
It’s a solvent and a water displacer, not a lasting lubricant. It’ll clean a hinge and then leave it dry. Use it for what it’s for (loosening a rusted bolt) and use grease for the parts that need grease.
Keep the products separate and labeled. A can of silicone spray that migrates to the rollers is worse than no maintenance at all. On the opener side, the only lubrication that usually matters is on the chain or screw drive, and the manufacturer’s spec for your model is the correct guide. If you’re not sure which drive your Genie or LiftMaster unit uses, that’s a two-minute check of the manual or a call.
The Five-Point Balance Test
The balance test tells you whether the springs are still doing their share of the lifting. If they aren’t, the opener is doing more work than it was designed for, and everything from the drive gear to the door panels wears faster. You can run it in under three minutes.
Safety first: disconnect the opener before you start, and don’t put your hands anywhere near the springs, cables, or the brackets that hold them. Springs and cables are under extreme tension and can cause serious injury if disturbed. Everything below is done with the door, not the spring hardware.
- Disconnect the opener. Pull the emergency release cord so the door moves by hand only.
- Raise the door to about waist height. Lift it slowly and note how much effort it takes.
- Let go at the halfway point. A balanced door stays where you leave it.
- Watch for drift. If the door sinks on its own, the springs have lost tension. If it rises, they’re over-tensioned.
- Check both sides. Lift from one side, then the other, and compare. Uneven effort usually points to a cable or track issue on the heavier side.
Write down the result at every milestone. A door that held at halfway a year ago and now sinks an inch is giving you a trend line, and a trend line is what lets you plan a spring replacement instead of reacting to one. If the result changes between checks, that’s the trigger to call for a professional look, not to keep testing.
What a Real Annual Inspection Includes
An annual professional inspection should be checkable against a list. If you can’t tell what was done, you can’t tell whether it was worth doing. Here’s what a thorough visit covers, and what the technician should leave behind.
What Should Be Checked
- Springs: tension test, visible wear, and a cycle estimate against rated life.
- Cables: fraying, drum seating, and equal tension side to side.
- Tracks: plumb, level, and clear of dents; hinges and brackets snug.
- Rollers: bearing condition and even wear across all of them.
- Panels: alignment, bowing, and the condition of the bottom section.
- Seals and weatherstripping: compression, cracks, and seal at the corners.
- Opener: force settings, travel limits, safety reverse, and the condition of the drive (chain, belt, or screw).
- Safety equipment: photo-eye alignment and function, plus the wall control and any safety edge.
What Should Be Left Behind
- A written summary of what was checked.
- Any findings, with a recommendation and a clear rationale (replace now vs. monitor).
- A cycle estimate for the door and a suggested next-inspection interval.
- Any parts replaced, listed by name.
- The technician’s read on the opener’s remaining service life.
A rushed visit skips the documentation and treats the door as a visual check. A thorough visit leaves you with a record you can compare year over year. That record is the whole value of an annual inspection. If your technician hands you nothing, ask for it before they leave.
One practical note: the inspection is also the right time to have the opener’s smart features and connectivity checked, since those fail quietly. We handle that as part of the same visit through garage door opener repair, which keeps the mechanical side and the electronics side on the same schedule.
Signs Your Door Needs Attention Now
The schedule exists to catch problems early. These are the signs that override it. If any of them show up, the door has moved from “due for maintenance” to “needs a professional now.”
- A loud bang from the torsion bar area and a door that won’t lift. That’s usually a broken spring. Stop operating the door and call.
- Visible fraying on a cable. Cables are under high tension and should only be handled by a trained technician.
- A door that reverses on its own mid-travel. The safety system is triggering, and the cause needs diagnosis.
- The opener straining or stalling. Often a sign the springs have lost tension and the motor is compensating.
- A gap at the bottom corner that wasn’t there before. Usually a track or hinge shift, and worth a look before it becomes a seal failure.
- Rollers that are visibly flat-spotted or off their bearings. They’ll bind in the track and wear it.
For a full run through the diagnosis and repair side, the garage door repair service page is the right starting point, and the Vallejo page covers the local context for how we schedule work in the area. When something on this list shows up, call (855) 339-8305. We answer 24/7. Fast dispatch from 7am to 7pm, Sunday through Friday.
Common Mistakes to Avoid
- Treating “twice a year” as a schedule. It’s a placeholder. Your cycles may call for quarterly attention or annual, depending on the household. Use the cycle count and adjust.
- Using WD-40 as a lubricant. It cleans and displaces water but doesn’t stay. Applied to rollers and hinges, it leaves them dry and vulnerable.
- Greasing the weatherstripping. Petroleum products break down rubber. Silicone spray belongs on seals; grease belongs on metal.
- Skipping the October walkaround because the door works fine. A seal that’s still sealing in September can fail in the first heavy rain. The walkaround is cheap insurance.
- Ignoring a small gap at the bottom corner. In Vallejo’s rainy season, a half-inch gap at the corner lets water track under the door and sit against the frame for weeks.
- Accepting a professional inspection with no written record. If you can’t compare this year to last year, you’re paying for a visit, not a maintenance program.
- Testing spring tension by hand near the springs or cables. The balance test is safe. Touching the spring hardware is not. Leave that to a trained professional.
See the difference
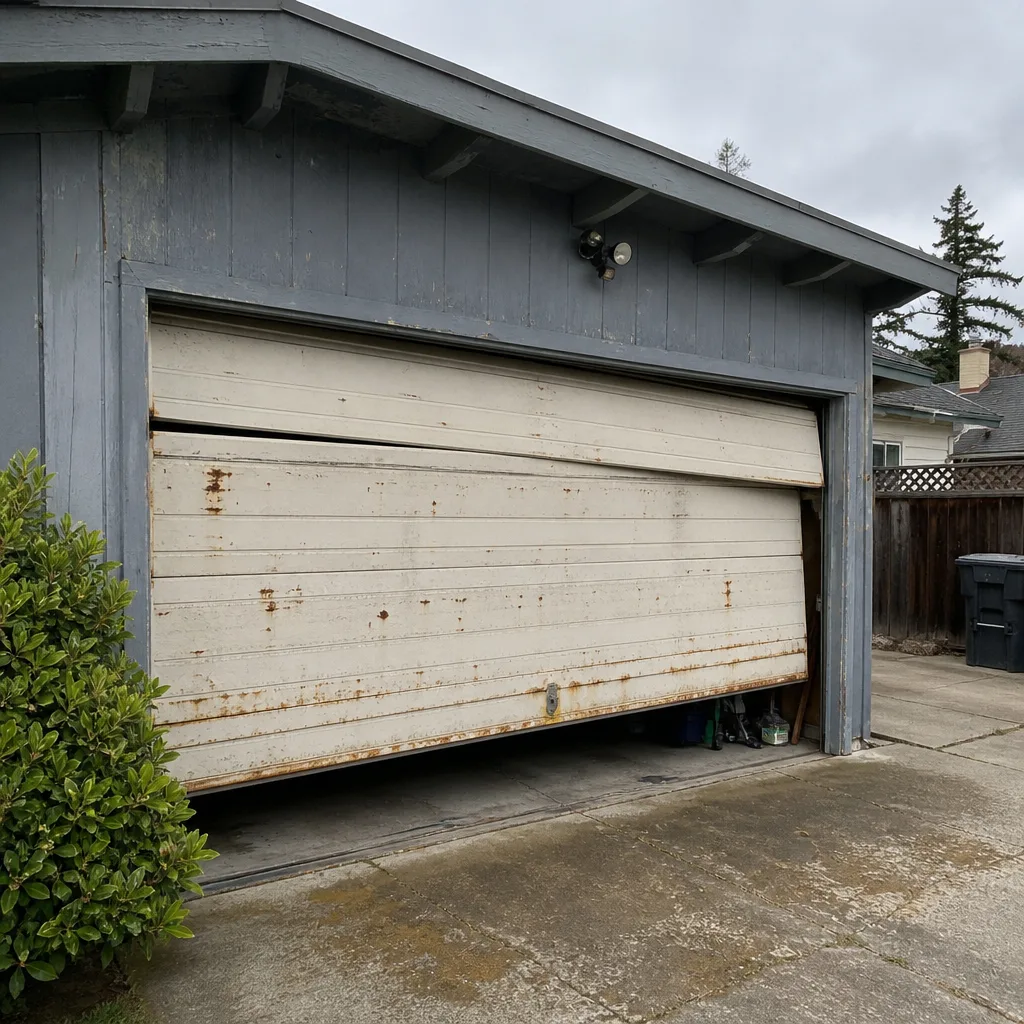 Before
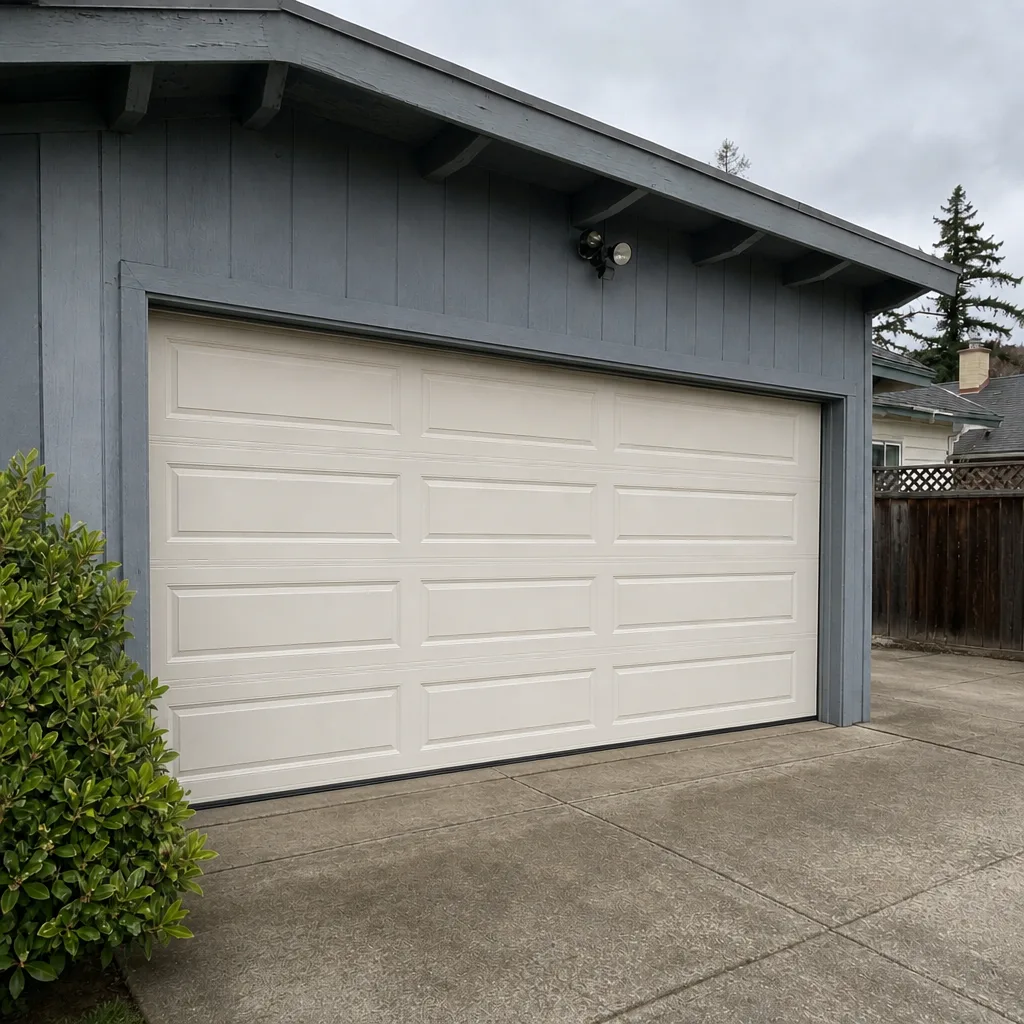 After
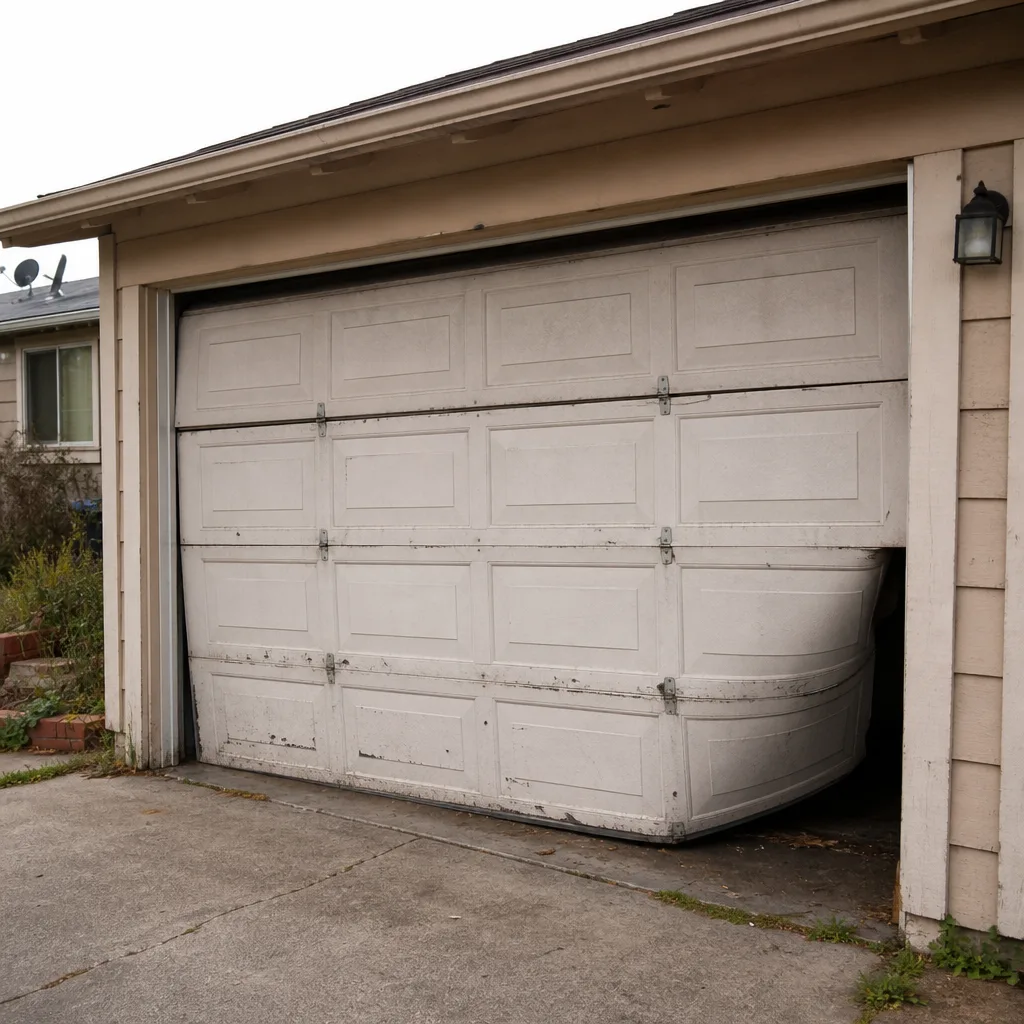 Before
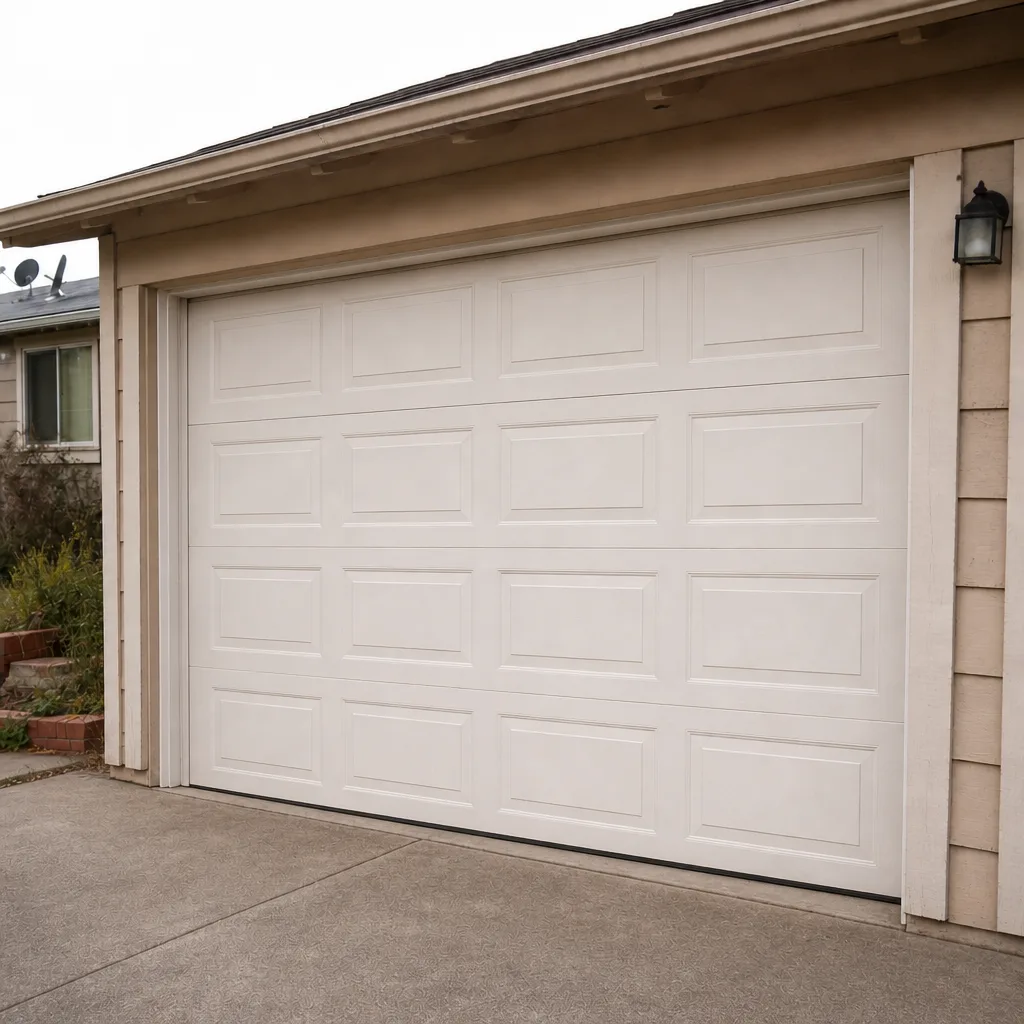 After
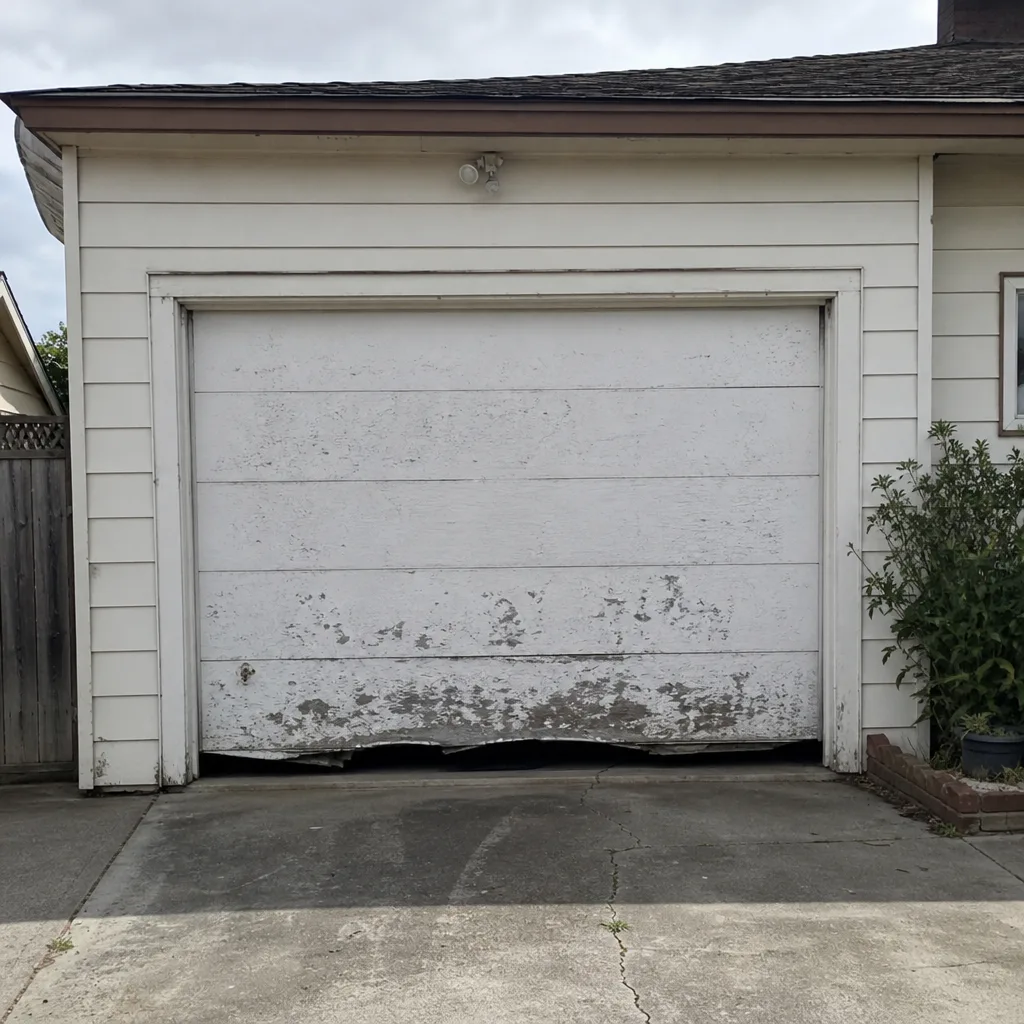 Before
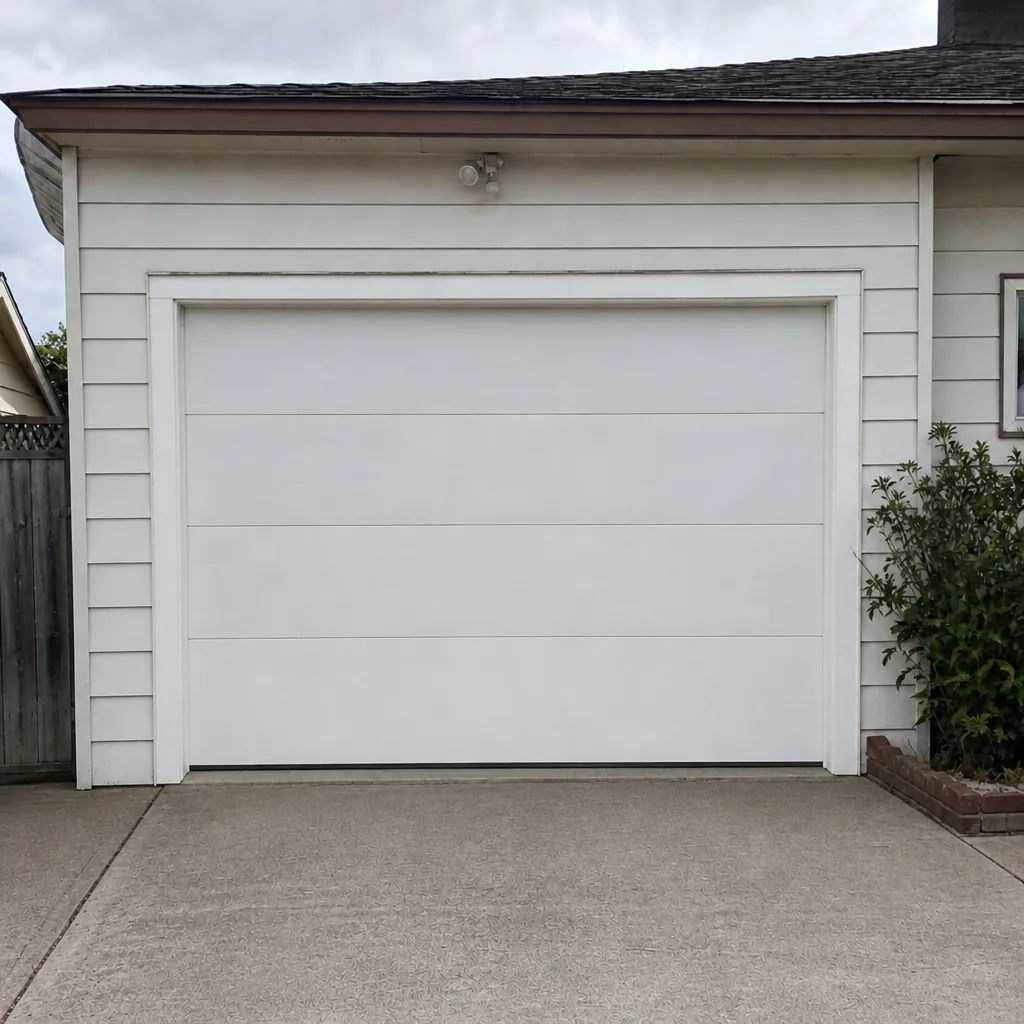 After
When to Call a Professional
Call a professional when a spring or cable shows damage, when the door won’t lift or won’t stay balanced after a proper test, when the opener reverses or strains on its own, or when the results of your seasonal walkaround point to track, hinge, or seal failure you can’t correct safely. Springs and cables are the two components that cause serious injury when handled without training, and no maintenance guide should suggest otherwise. Call if you’re past 7,500 cycles and have never had a professional look at the springs, or if the annual inspection turns up findings you can’t verify.
Trailhead Garage Door Repair offers free estimates in Vallejo. Call (855) 339-8305. We answer 24/7. Fast dispatch from 7am to 7pm, Sunday through Friday, and the written estimate sets the price before any work starts. Our technicians have up to 11 years of experience and work across LiftMaster, Chamberlain, Genie, Clopay, Amarr, Wayne Dalton, Craftsman, and Raynor systems, so the diagnosis starts with your brand rather than a general inspection.
Frequently Asked Questions
Every 2,500 cycles for a homeowner check, a quarterly balance and safety test, and a professional inspection once a year. For most Vallejo households, 2,500 cycles works out to about 18 to 20 months, so the professional inspection is the annual anchor and the homeowner checks land between them.
You can’t read it directly. Most doors don’t have a cycle counter, so you estimate by multiplying your daily opens-and-closes by the years the door has been in service. A household running four cycles a weekday and six on weekends is logging roughly 1,100 to 1,500 a year.
They change the timing, yes. The rainy season stresses seals, weatherstripping, and bare hardware, so an October walkaround focused on those items heads off most water intrusion. Summer heat expands steel, so a May walkaround focused on track binding and door function catches what the cycle milestones alone wouldn’t.
Lubricating hinges, rollers, and the spring coils is generally safe as long as you’re careful around the spring and cables and don’t put your hands in the path of the door. Anything that involves adjusting the springs, cables, or brackets is not a homeowner job. Springs are under extreme tension and can cause serious injury, so leave that to a trained professional.
Not precisely, but you can get close. A door that starts to sink in the balance test, feels heavier to lift, or makes the opener strain at the top of travel is usually showing lost spring tension. Past 7,500 cycles, plan a professional look even if the door still feels fine.
A written summary of what was checked, any findings with a recommendation, a cycle estimate for the door, a suggested next inspection interval, and a list of parts replaced. If the visit ends without documentation, ask for it. A record you can compare year over year is the point of the inspection.
We’re closed on Saturdays. Call and we’ll book you into the next opening, Sunday through Friday, 7am to 7pm. We answer 24/7, so a call outside dispatch hours is booked into the next opening.
The Bottom Line
Build your garage door maintenance around cycles and seasons, not the calendar. Estimate where you sit today, note the date, and let the 2,500-cycle milestones structure the routine. Run the five-point balance test quarterly. Walk the door in October to protect the seals before the rains and in May to catch heat-driven binding before it wears the tracks. Use lithium grease on metal and silicone spray on rubber, never the other way around. And once a year, pay for a professional inspection that leaves you with a written record. If something on the warning list shows up, call (855) 339-8305. Trailhead Garage Door Repair offers free estimates in Vallejo, the written quote sets the price before work starts, and we answer 24/7 with fast dispatch from 7am to 7pm, Sunday through Friday.
Written by the team at Trailhead Garage Door Repair.