
Last updated November 15, 2026
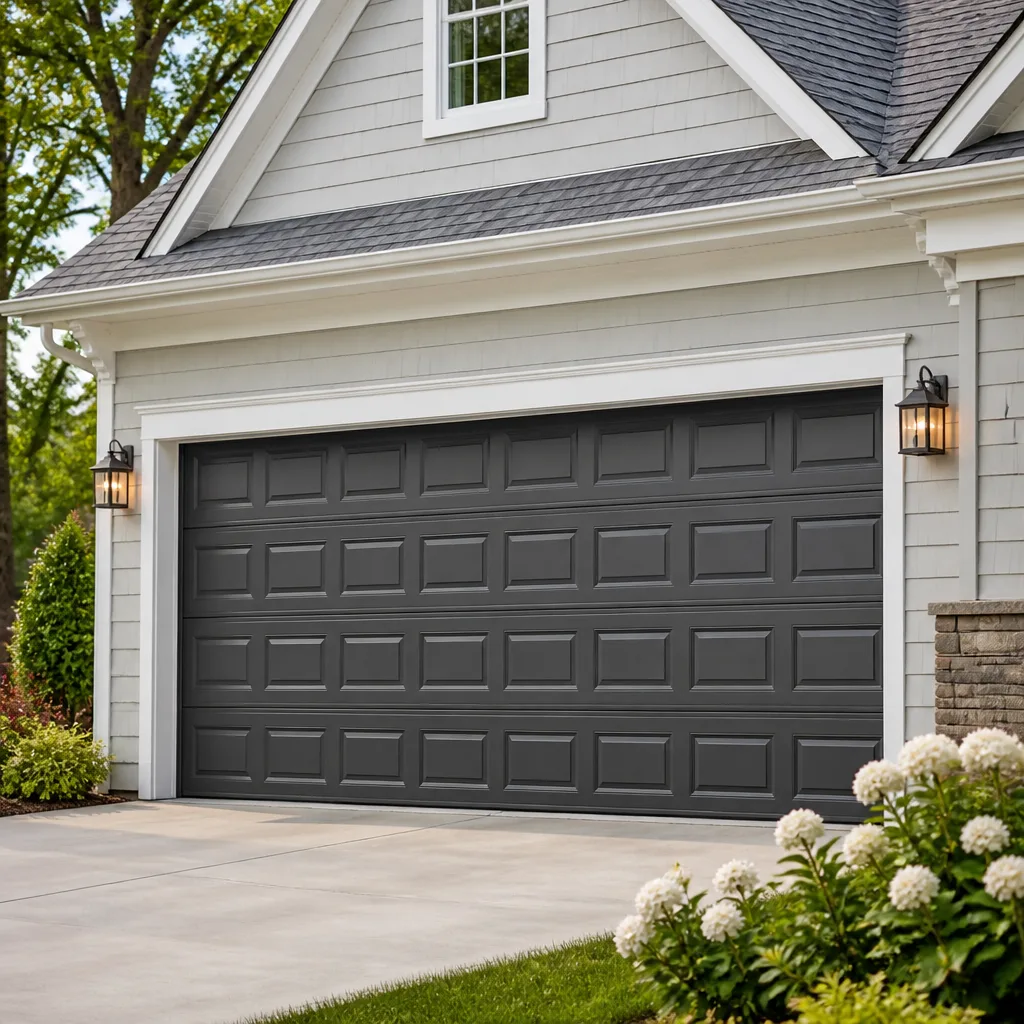 Raised-panel steel
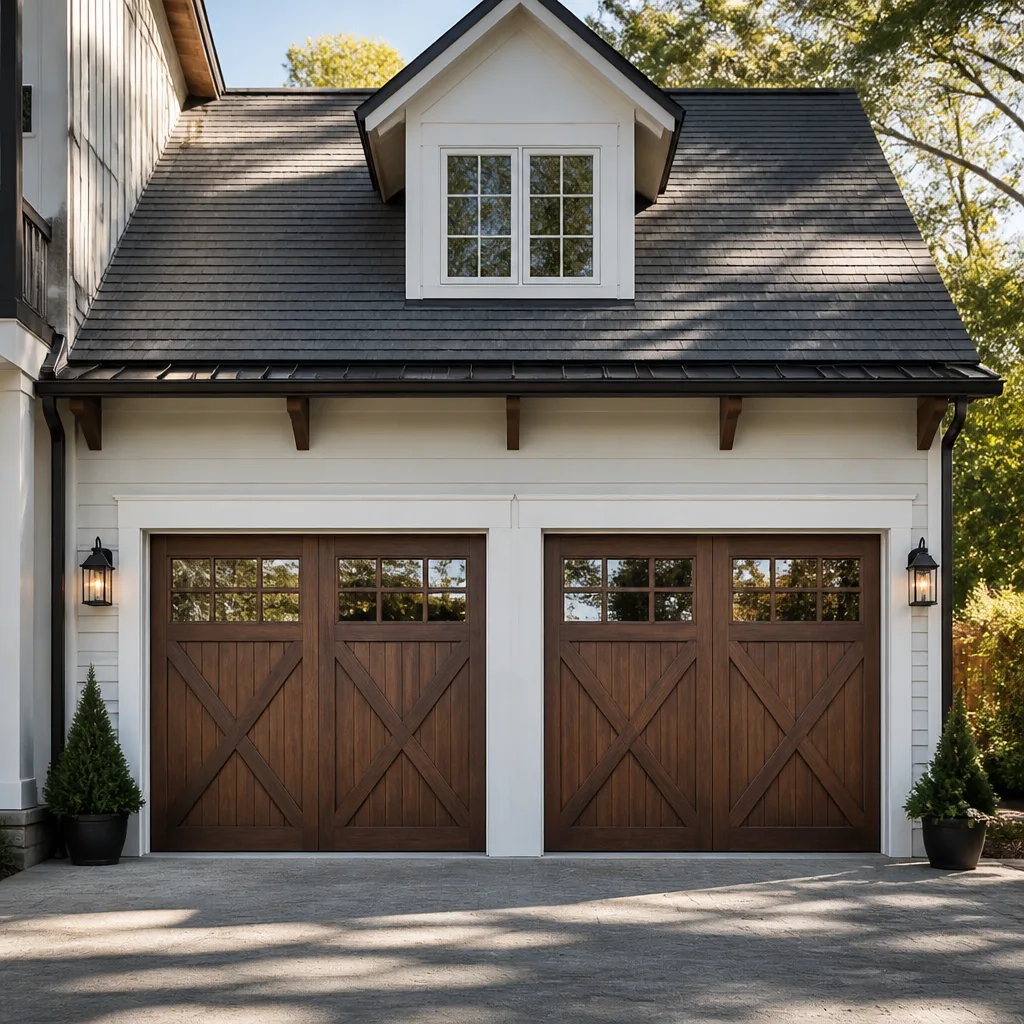 Carriage house
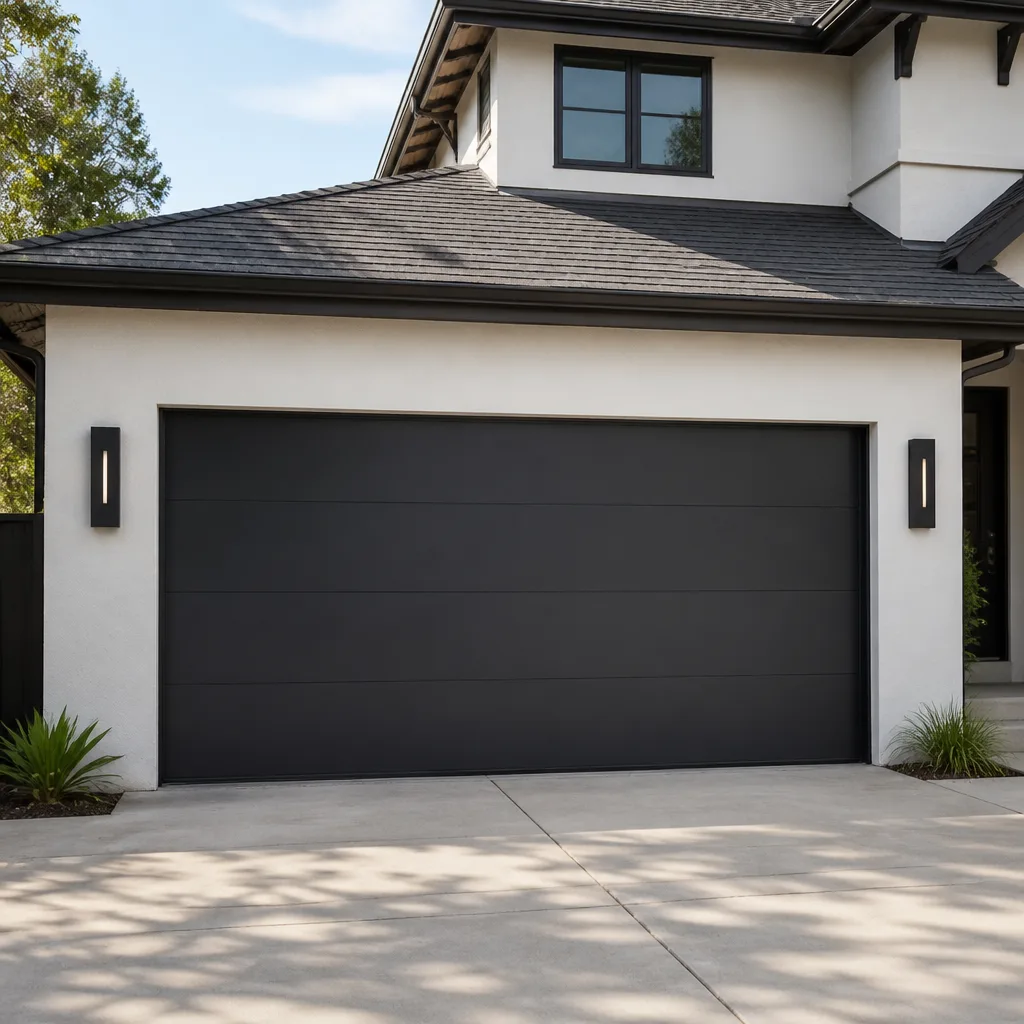 Modern flush
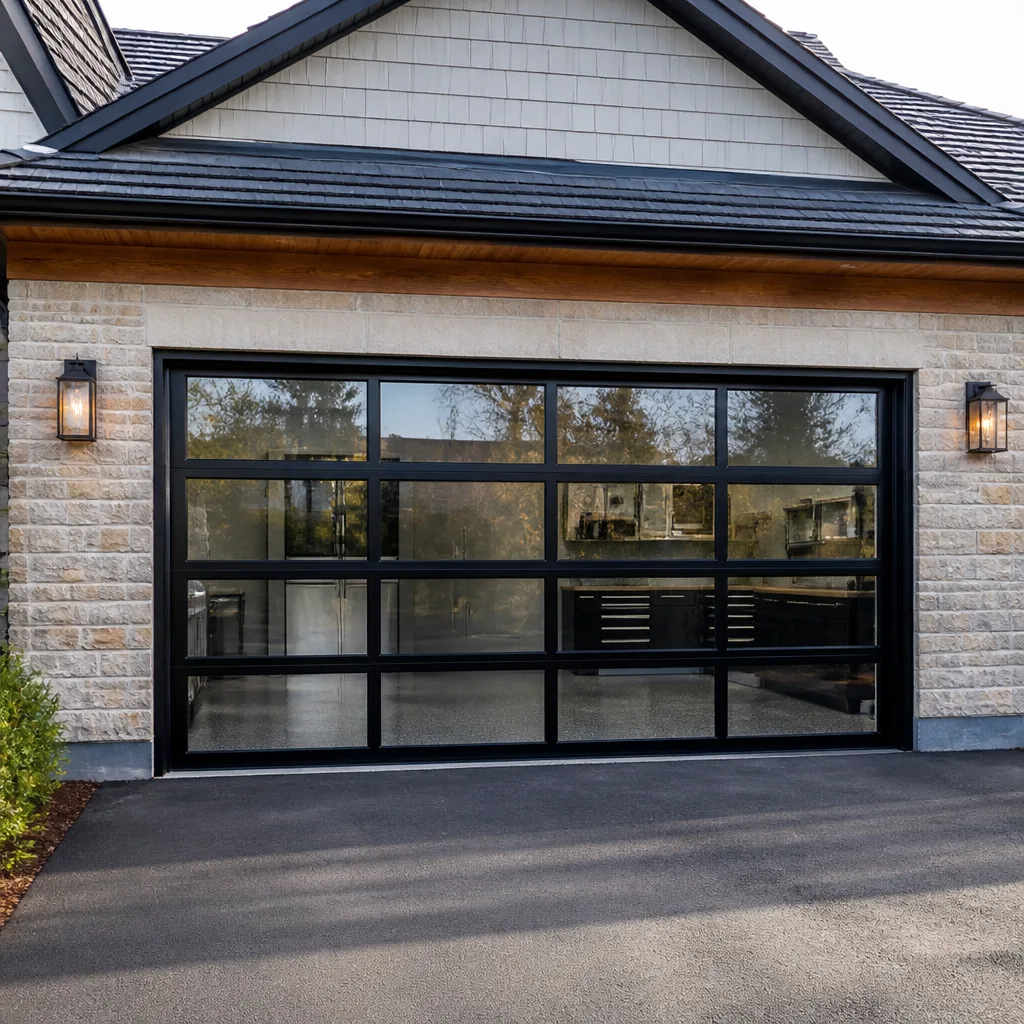 Full-view glass
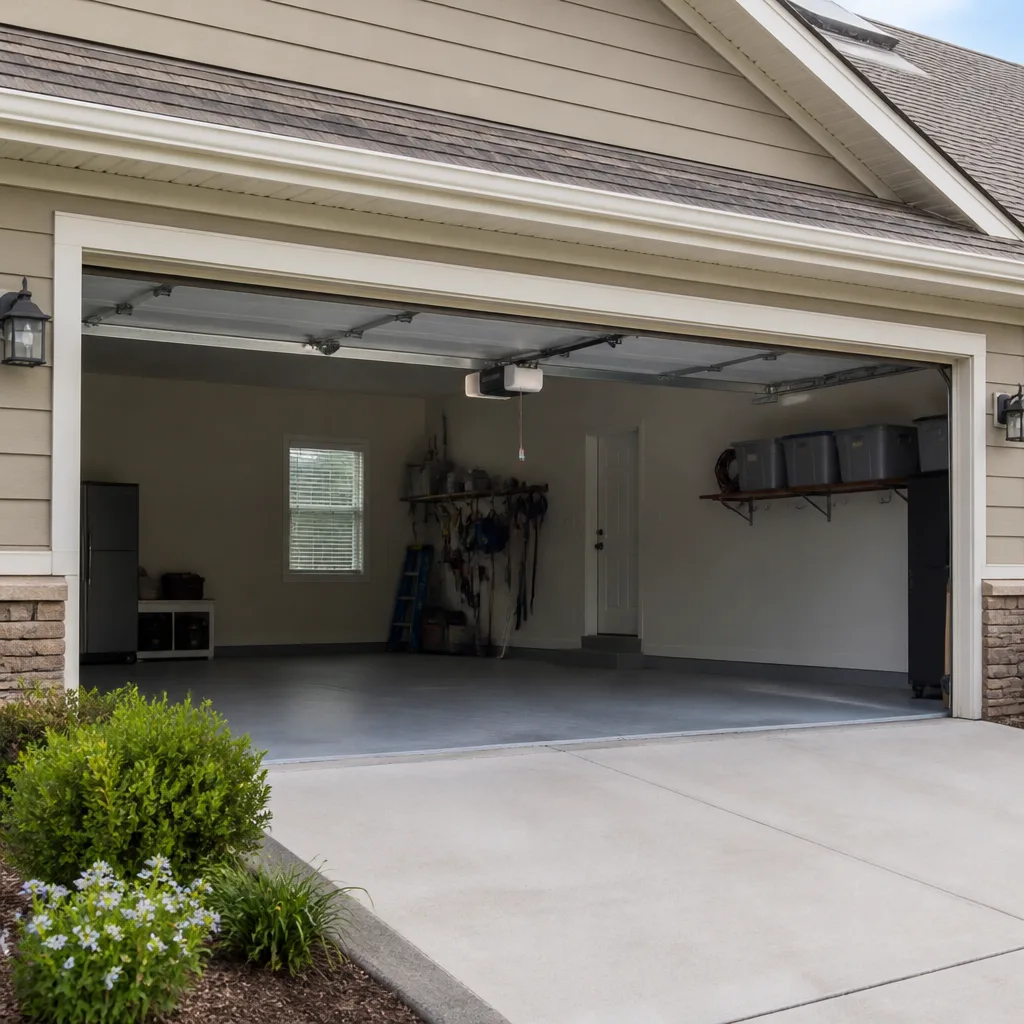 LiftMaster openers
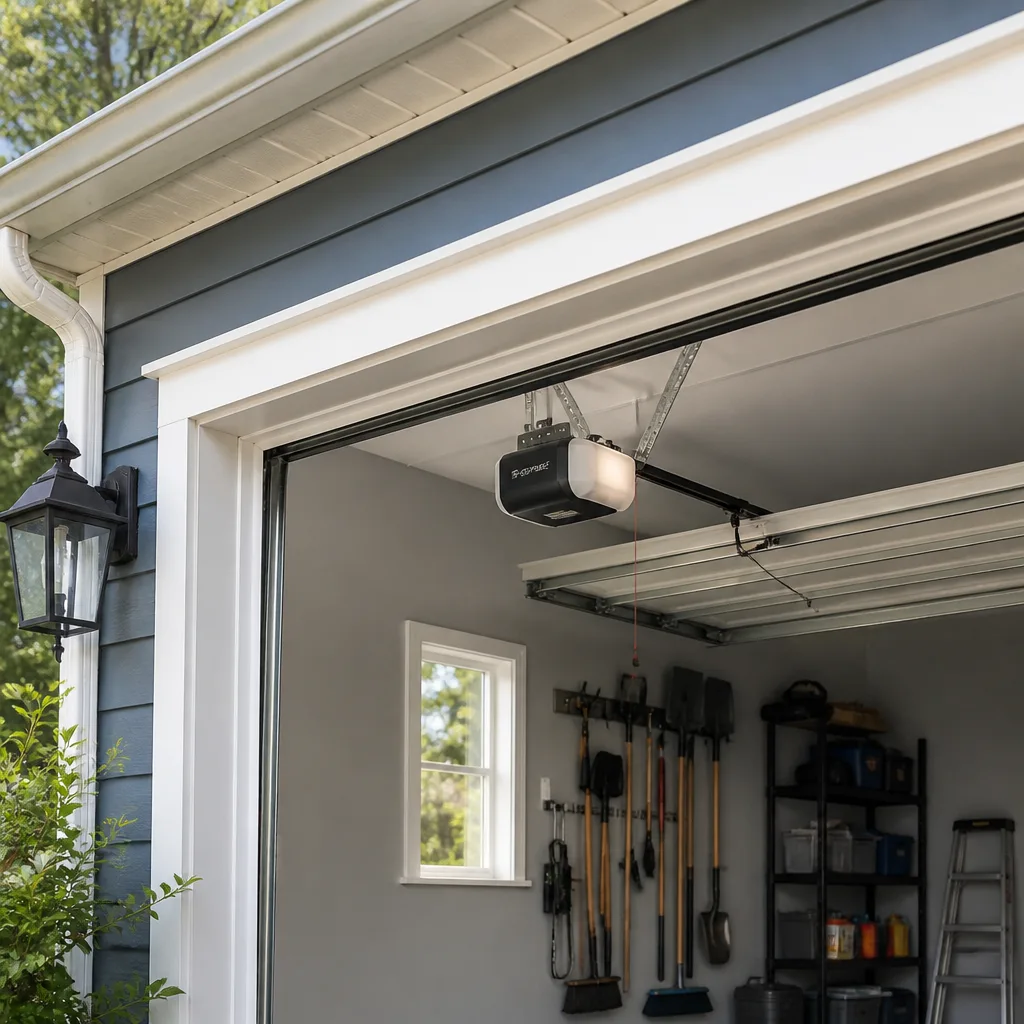 Chamberlain openers
Full 25-point door and opener safety check with every visit - springs, cables, rollers, tracks, and your LiftMaster or Chamberlain opener included
You get a price before we start. It does not change when the pro arrives.
Get your free estimateGarage Door Warning Signs: A Vallejo Homeowner’s Reference Guide
Most warning-sign lists treat every symptom the same, and that’s the problem. A door that reverses before it closes and a door that’s a little slow both get filed under “call a professional,” when those two problems have completely different timelines to failure. One might be a sensor blocked by a spiderweb. The other could be a spring about to let go under full load. This guide sorts the signs we see on Vallejo doors into three urgency tiers, so you know which problems need a call today and which ones belong on next month’s service list. We’ll cover sounds, opener behavior, the spots where corrosion starts, and how to run a balance test yourself.
Quick Answer
A garage door gives warning before it fails, but the signs aren’t equally urgent. Signs that mean stop using the door immediately: a snapped or visibly stretched spring, a frayed cable, a door that slams down, or a door that comes off its track. Signs to schedule within a week: a door that reverses for no clear reason, an opener that strains or hesitates, or a door that won’t stay balanced at the halfway point. Signs to monitor and service soon: slow operation, one loud roller, uneven gaps along the bottom seal, or a remote that works only up close. The key is knowing which tier you’re in before you keep cycling the door.
Styles & brands we work with
- Raised-panel steel
- Carriage house
- Modern flush
- Full-view glass
- LiftMaster openers
- Chamberlain openers
Table of Contents
- Tier 1: Signs to Stop Using the Door Now
- Tier 2: Signs to Schedule Service Within a Week
- Tier 3: Signs to Monitor and Service Soon
- What the Sounds Actually Mean
- The Bottom 18 Inches: Where Vallejo Doors Show Trouble First
- Opener Behavior Flags: Strain, Sensors, or Springs?
- How to Run a Manual Balance Test
Tier 1: Signs to Stop Using the Door Now
Tier 1 problems are the ones where cycling the door again is a real risk to you and to the door. If you see any of these, stop using it and call for garage door repair. These are the signs we treat as same-day calls, because the alternative is a door that fails mid-travel with a car underneath it or a person standing in the opening.
- A snapped torsion spring. You’ll find a clean break in the coil above the door, and the door will feel heavy enough that a person can barely lift it. Without a functioning spring, the opener is fighting the full weight of the door.
- A visibly frayed or kinked cable. Cables live under high tension and run along the sides of the door. A cable with broken strands, a sharp bend, or slack hanging loose is a real hazard; never touch it or try to re-route it.
- A door that slams down fast. If the door drops the last foot instead of settling, the spring system or a safety component has failed. This is where the safety reversal system should have caught it, and didn’t.
- A door off its track. A roller out of the rail on one side means the door is twisting as it moves. Running it further bends panels and can bring the whole door down.
- Visible gaps or separation between panels. A panel that’s pulling away from its hinge or a section that’s separating under load is a structural problem, not a cosmetic one.
These are the “stop now” signs. A garage door weighs well over a hundred pounds on most homes, and the springs and cables holding it are the parts most likely to cause serious injury. This is a job for a trained technician, not a weekend project.
Tier 2: Signs to Schedule Service Within a Week
Tier 2 problems aren’t emergencies yet, but they’re actively getting worse. If you see these, book service in the next several days rather than waiting for the next round of repairs to pile up. We see a lot of Vallejo homeowners wait on these until a Tier 2 becomes a Tier 1, which costs more and disrupts more.
- The door reverses on its own, partway down. This can be a blocked safety sensor or a spring that’s lost tension. You don’t yet know which until it’s checked, and that’s why it belongs near the top of this tier.
- The opener strains or hesitates on the way up. If the motor sounds like it’s working harder than it used to, the spring may be losing carrying capacity, or the door may be binding. Left alone, the opener motor burns out.
- The door won’t stay balanced halfway open. Lift it by hand about halfway, let go, and if it drops or snaps shut, the spring is the likely culprit. See the balance test below.
- One side of the door hangs lower than the other. Uneven travel usually points to a stretched cable, a worn roller, or a spring imbalance. It wears the door’s panels and the opener’s drive gear as it runs.
- A loud pop or bang you can’t attribute to anything else. If the door made a sharp noise and now runs a little differently, something shifted, and it’s worth a look before the door is cycled again.
If you’re seeing any of these, don’t keep cycling the door to “test” it. Book it in, and the technician can sort out whether it’s a garage door opener repair or a door-mechanics issue in a single visit.
Tier 3: Signs to Monitor and Service Soon
Tier 3 problems are gradual. They won’t strand you today, but they shorten the life of the door and the opener, and they’re the ones that quietly turn into bigger repair bills. These belong on a running list you check once a month, especially in a Vallejo home where the garage is your everyday entry point.
- The door runs slower than it used to. Speed loss usually means rollers or hinges are binding, or the opener’s drive is working harder than it needs to.
- One roller or hinge squeaks or grinds. A worn nylon roller loses its shape and starts to skid in the track. Replacing rollers is inexpensive; replacing the door panel the roller ground against is not.
- The bottom seal isn’t flush. Sun and heat wear the rubber gasket that runs along the bottom edge, and a small gap lets in dust, insects, and water. A seal that’s cracked or crumbly lets a lot of outside into the garage.
- The remote only works when you’re close. A weakening battery, a loose antenna, or a safety sensor slightly out of alignment can all cause limited range. It’s usually a quick fix.
- Small rust spots or paint bubbling on the door panels. Catching these early keeps them small.
None of these require dropping everything. But they’re the items that, ignored for a year, push you from “schedule a service” into “replace a component.”
What the Sounds Actually Mean
Noise is the most common complaint we get, and it’s also the least specific. “It’s making a weird sound” can mean four different things. Here’s how to tell them apart so you can describe what you’re hearing when you call, and so you can judge which tier you’re in.
Worn roller
A worn roller sounds like a rhythmic squeak or grind that repeats with every rotation of the door. It’s a steady, once-per-second kind of noise, not a one-off. If the pitch changes as the door goes up, that’s a strong signal of a nylon roller that’s lost its shape.
Cable rubbing or dragging
A cable that’s come off its drum or is rubbing the side bracket makes a metallic scraping sound, often only on one side of the door. It’s sharper and more intermittent than a roller squeak, and it shouldn’t be ignored, because the cable is a high-tension component.
Torsion spring under stress
A torsion spring that’s fatigued or failing makes a low, creaking groan as the door moves, or a sharp twang. Sometimes you’ll hear a loud pop and the door will then feel different. Any one of those is a sign to get the spring checked before continuing to run the door.
Opener drive or rail
A grinding or rattling sound coming from the ceiling-mounted unit itself, rather than the door, points at the opener’s drive gear or its rail. On a Chamberlain or Genie unit that’s been in service for years, the internal gear teeth can wear down, and the sound gets rattly before the opener gives up.
If you can match what you hear to one of those four, you’ve already narrowed the problem down. That description makes the visit faster and the diagnosis more direct. If you can’t tell, take a short phone recording; a good technician can usually call it from a fifteen-second clip.
The Bottom 18 Inches: Where Vallejo Doors Show Trouble First
The bottom 18 inches of the door does more work than the rest of it. It takes the seal, it takes the sensor beam, it takes about the most water and dust, and on most Vallejo doors, it’s where the first signs of wear show up. When we check a door, that’s the first place we go. Here’s the inspection sequence:
- Look at the bottom weather seal. It should be continuous, soft, and touching the floor along its full width. Crumbling rubber, a visible crack, or a section that’s pulled away are all seal failures.
- Look for corrosion or rust along the bottom panel’s bottom edge. Paint bubbling, light rust, or white chalky marks around hinge points tell you water has been sitting there. It’s mostly a cosmetic problem early on; it becomes structural if you leave it.
- Look at the hinges on the bottom two hinge points. Those are the ones that carry the most load on the way up, and they’re the ones most likely to be worn or slightly bent.
- Look at the rollers on the bottom section. Check the roller’s shape, and check whether the stem is bent. A worn bottom roller causes uneven travel and accelerates wear up the rest of the door.
- Look at the safety sensor on each side of the opening. The small lenses should be roughly at ankle height, clean, and aimed at each other. A lens knocked out of aim is the most common cause of a door that reverses for no obvious reason.
Working through those five checks takes about ninety seconds and tells you most of what you need to know about the lower corner of the door. In a Vallejo home where the garage is used as a main entrance, the bottom edge takes a lot of daily wear that a garage used only for parking never sees.
Opener Behavior Flags: Strain, Sensors, or Springs?
The opener gets blamed for a lot of problems that are actually door-side or spring-side issues. Learning to tell the difference saves you money because you’re not paying for an opener repair that won’t fix the actual problem. Here’s how to read the difference.
Reverses immediately after touching the floor
This is almost always a safety sensor issue: either the beam is blocked by something small (a cobweb, a leaf, a package corner), the lenses are out of aim, or the sensor wiring has a loose connection. Every opener, from a LiftMaster to a Genie, has a similar two-lens safety system. It’s the most common “my door won’t stay closed” call we get, and it’s usually quick to sort.
Reverses partway down, no obstruction
If nothing’s in the beam, this pattern points more toward spring imbalance or a door that’s binding. The opener senses resistance and reads it as an obstruction. You won’t know which until the door is checked by hand, so this sits in Tier 2 on the urgency scale.
Strains or hesitates at the start of travel
The motor is working harder than it should. On an older Craftsman or Chamberlain unit, the drive gear teeth can wear, but more often the door itself is the load: worn rollers, a binding track, or a spring that’s lost tension. Diagnosing with the door and the opener together is the correct move, which is why having a single team handle both the mechanical and the electrical side saves a repeat visit.
The light blinks but nothing moves
A blinking opener light without movement generally means the unit is receiving the command but can’t complete a safe travel cycle, typically because of a sensor fault. Check the lenses first; then call if the problem persists.
If the opener’s own behaviour is unclear, we can look at both sides of the system on the same visit. We work on eight brands regularly, so a Clopay door on a LiftMaster opener gets diagnosed as one system, not two separate calls.
How to Run a Manual Balance Test
The balance test tells you how well the springs are holding the door, and it’s the single most useful check you can do yourself. It takes a minute and tells you which tier you’re in. A door with healthy springs should stay put at roughly the halfway point of its travel with very little effort. If it doesn’t, the springs are the prime suspect.
- Disconnect the opener. Pull the release handle (usually a red rope) that hangs from the opener rail. The door now runs on manual.
- Raise the door by hand to about halfway open. Hold the bottom edge with both hands, lift slowly and steadily, and stop at the midpoint of travel.
- Let go and watch. Let the door sit on its own for a few seconds without supporting it.
- Read the result. If the door stays where you left it, the springs are holding. If it drops rapidly, the springs are losing tension. If it rises on its own, the springs are over-tensioned or set incorrectly. Any of the last two results is a spring-side issue.
- Reconnect the opener and set the door fully closed, then reset. Pull the release again to re-engage the carriage, and cycle the door once to confirm the opener has picked up the door correctly.
This test tells you the spring’s condition, not its cause. If the door fails to hold, do not adjust the springs yourself. Torsion springs are under enormous tension even in a “relaxed” door, and the adjustment process is one of the most dangerous jobs in this trade. A trained technician can measure the spring tension correctly and replace a spring pair if needed. On a matched pair, both springs are usually replaced together; a single spring replacement is priced per spring, so a pair costs about twice a single.
How to Inspect Your Door in Ten Minutes
A monthly ten-minute walk around the door catches most of the problems on this list before they become expensive. Here’s the routine we recommend.
- Start at the bottom edge. Run a hand along the bottom seal and check for gaps, cracks, or sections that aren’t touching the floor.
- Look at both hinges on the bottom two panel joints. Look for bend, visible rust, or a hinge that’s coming loose from the panel.
- Check the safety sensors. Wipe the lenses with a dry cloth, and confirm they’re aimed at each other.
- Look at each side of the door for cable or drum problems. Any fraying, kink, or dangling slack is a Tier 1 problem.
- Run the opener and listen. Note any new squeak, grind, or hesitation. Compare it to what it sounded like a month ago.
- Do the balance test once a month. It’s the easiest measure of spring health you have.
Done regularly, those six steps are what keeps a Vallejo door out of the sudden-failure category. None of it replaces a technician’s inspection, but it does give you a specific description to call in with.
See the difference
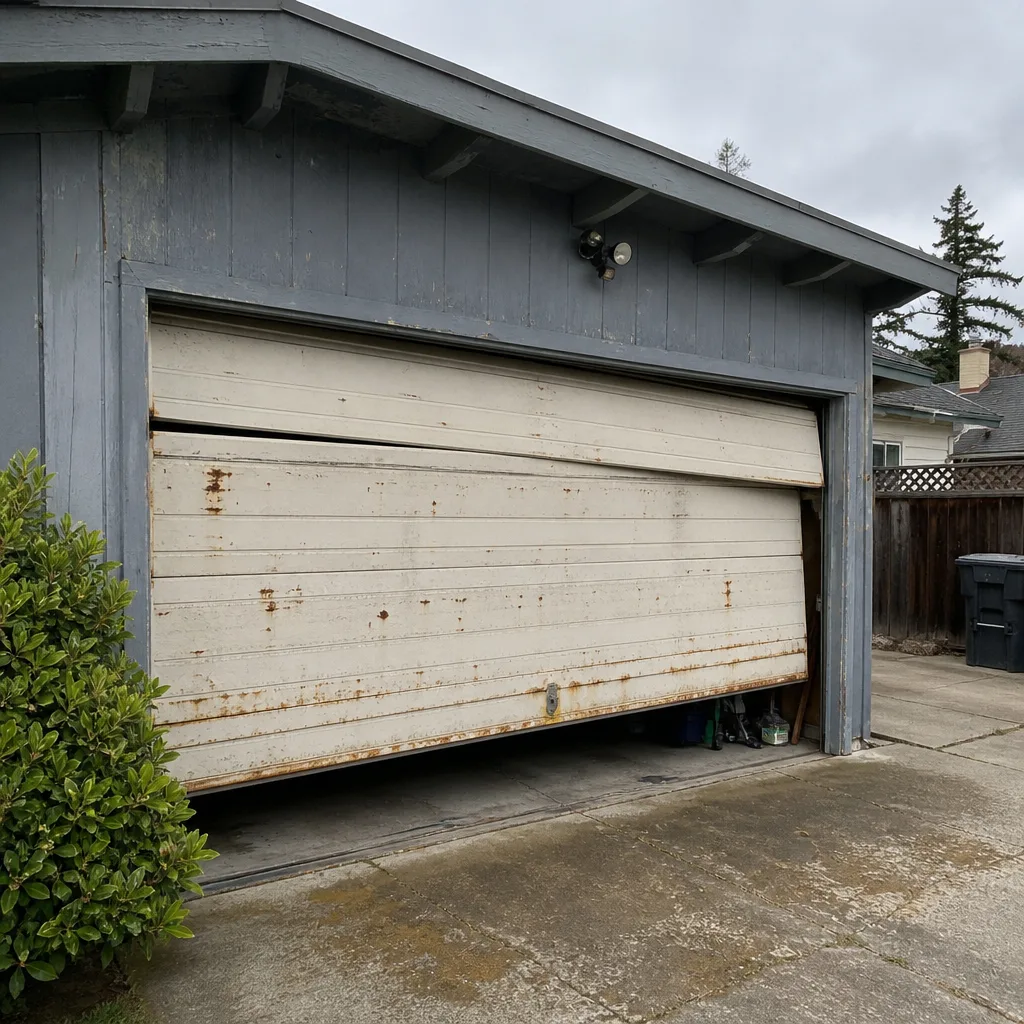 Before
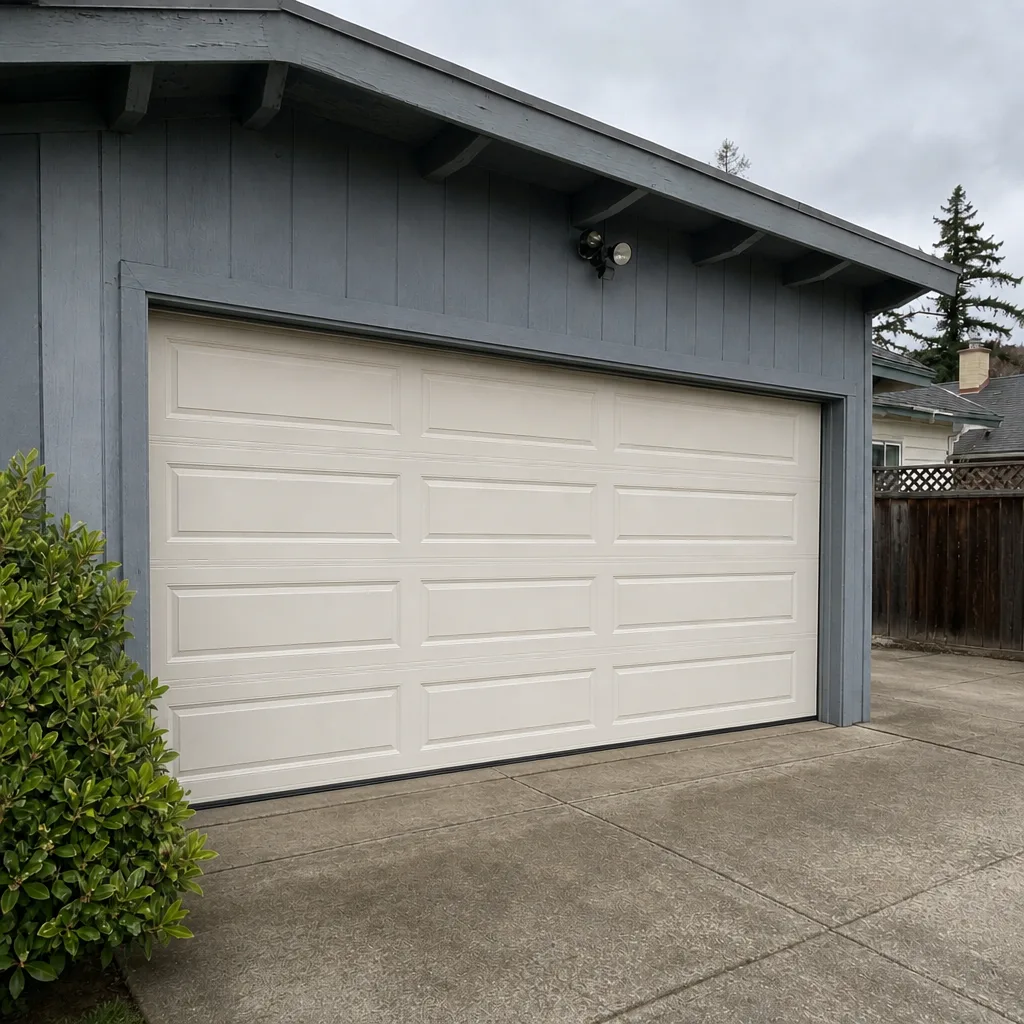 After
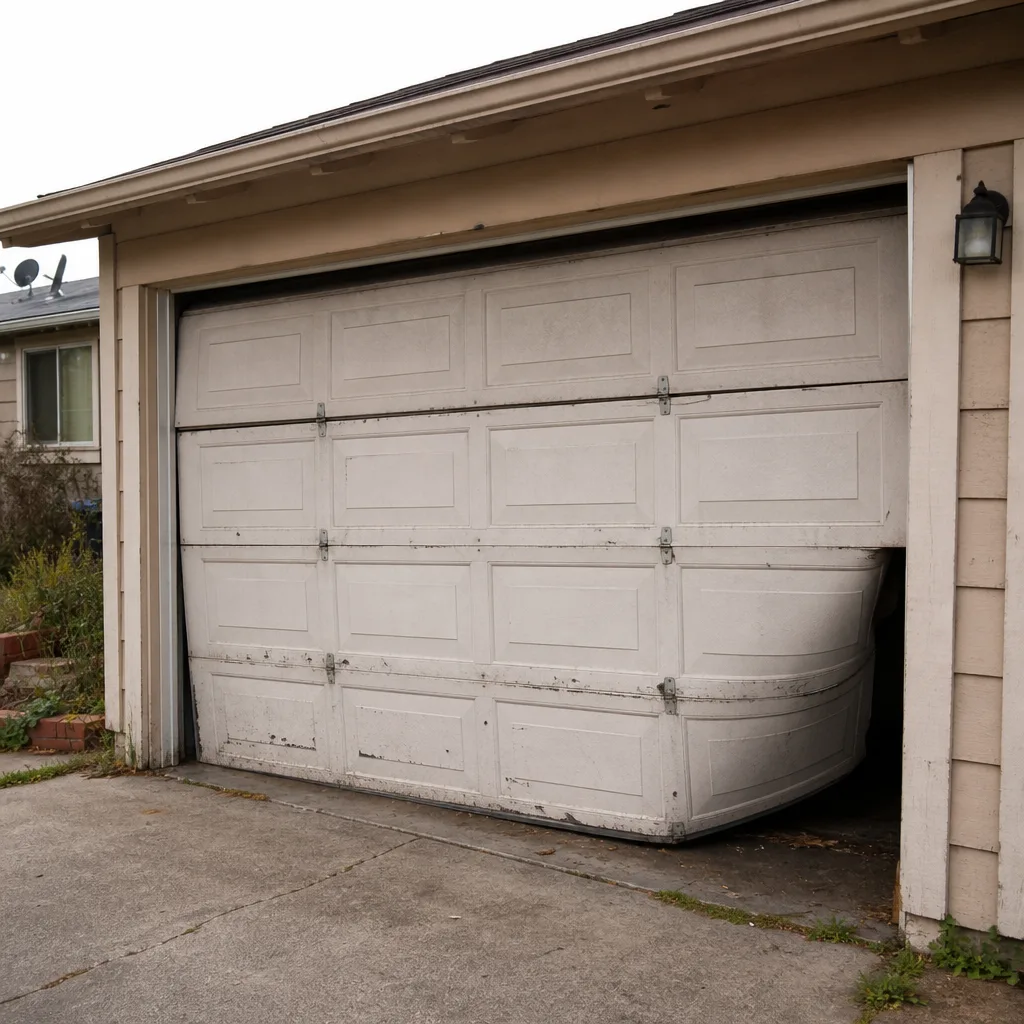 Before
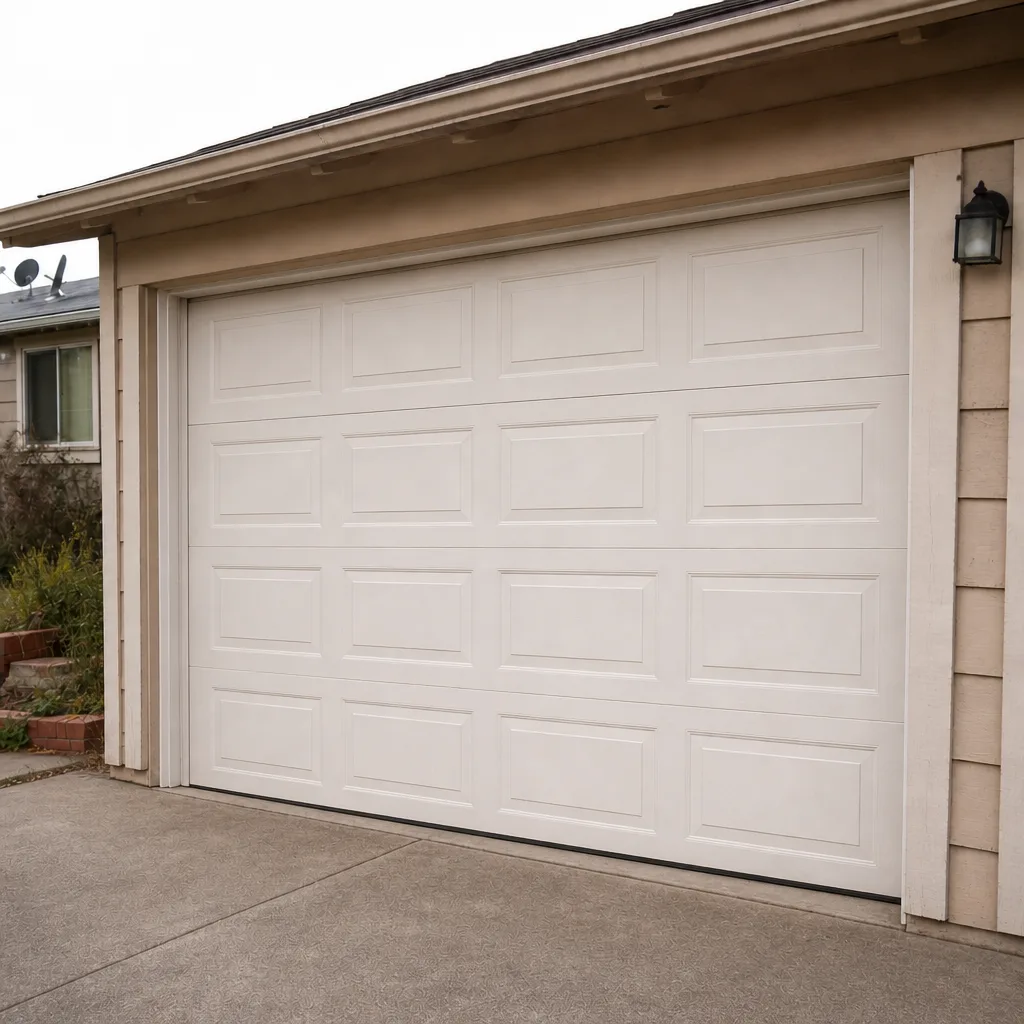 After
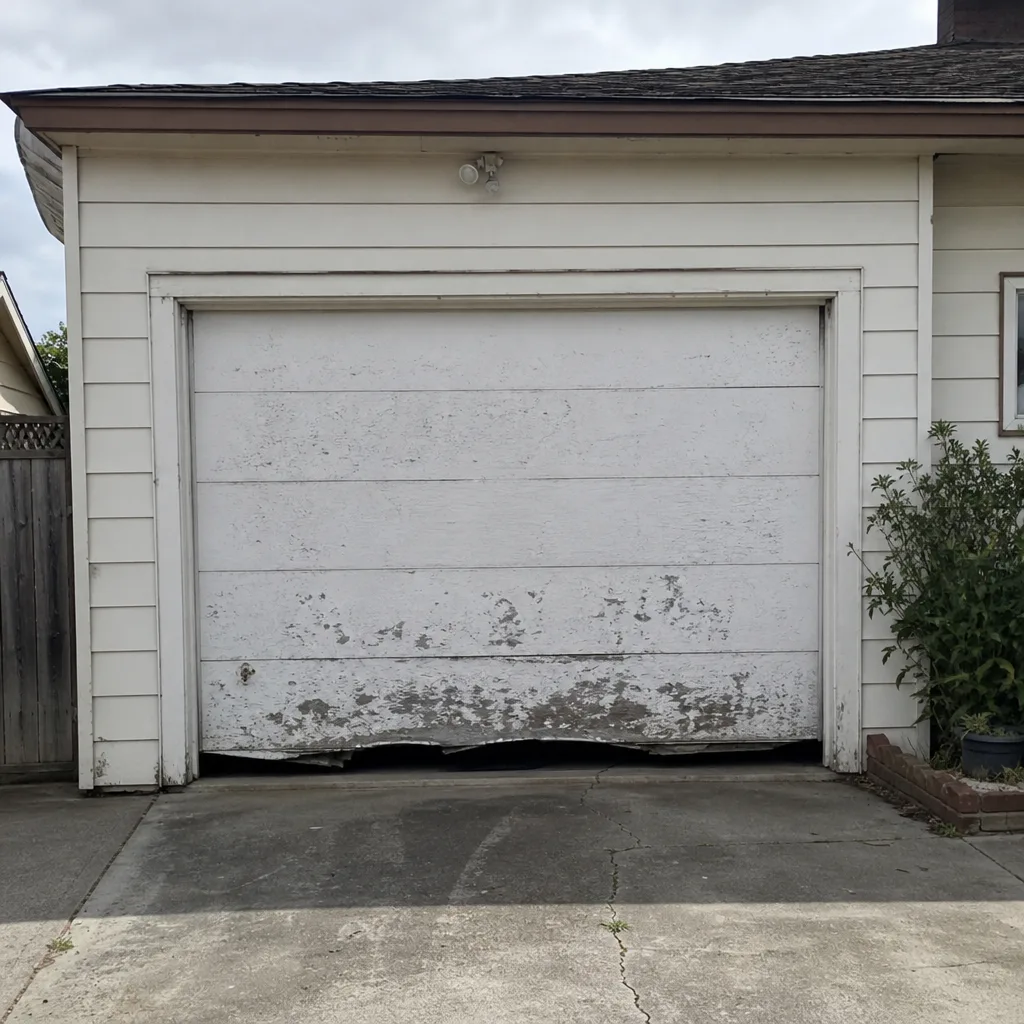 Before
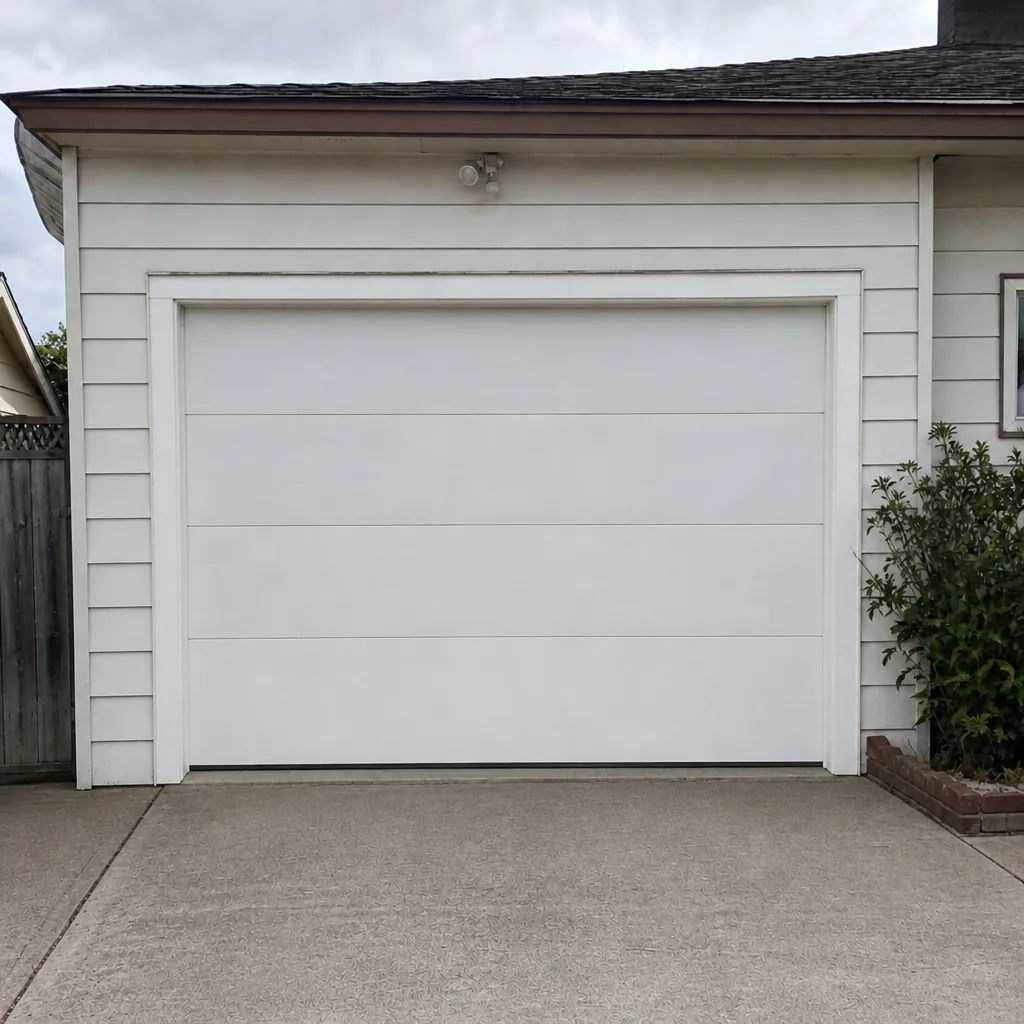 After
Common Mistakes to Avoid
- Cycling the door to “see if it fixes itself.” If a door is straining, cycling it repeatedly makes the problem worse, and on a failing spring it’s a safety risk. Stop the door and get it looked at.
- Adjusting the torsion spring by hand. Springs carry enough stored energy to cause serious injury even when the door looks at rest. Only a trained technician should be on that spring.
- Assuming every reversal is a sensor problem. A blocked safety beam is the most common cause, but a failing spring produces the same behavior. A quick balance test before you call narrows it down.
- Replacing the opener when the door is the real problem. If the door isn’t balanced, a brand-new opener will burn out faster than the old one. Fix the door first, then judge the opener.
- Ignoring the bottom seal until it’s a full replacement. A crumbling bottom seal lets water and insects into a Vallejo garage. Catching it early keeps it a small job.
- Greasing a worn roller instead of replacing it. Lubricant won’t fix a flaking nylon roller. It just spreads the wear into the track.
- Skipping the balance test because the door “still opens.” A door can open for months on a compromised spring. The balance test is what tells you whether it’s marginal or healthy.
When to Call a Professional
Call when you’re in Tier 1 or Tier 2, and call when you’re simply not sure which tier you’re in. That last case is more common than you’d think, and it’s the reason we’re here: a specific diagnosis is what you need, not a longer list of symptoms to worry about. Vallejo doors tend to get heavy use if the garage is your entry point, and a technician who works on doors and openers together can sort out the door mechanics, the spring condition, and the opener behavior on one visit. Trailhead Garage Door Repair offers free estimates in Vallejo, call (855) 339-8305. We answer 24/7, with fast dispatch from 7am to 7pm, Sunday through Friday. Our technicians have up to 11 years of experience, and we work on Chamberlain, Genie, Clopay, Amarr and four more major brands.
Frequently Asked Questions
A snapped or visibly stretched spring is the most urgent warning sign. The door will feel extremely heavy, and the opener is fighting the full weight of it. Stop using the door and call (855) 339-8305 for an exact quote.
Run the manual balance test. If the door won’t hold itself halfway open, it’s a spring problem; if it does hold and the door still reverses, it’s a sensor or alignment issue. Either way, we can check both on one visit, call (855) 339-8305.
Not always, but the type of sound matters. A rhythmic squeak usually means a worn roller; a metallic scrape on one side is a cable problem; a low creak or groan points to a spring under strain. The last of those needs a same-week call, while the first is a monitor-and-service item.
It depends on the tier. Tier 1 signs (snapped spring, frayed cable, off-track door) mean stop using it. Tier 2 signs mean use it as sparingly as possible until it’s looked at, and Tier 3 signs can wait for a scheduled visit.
We work on eight major brands, including Chamberlain, Genie, Clopay, Amarr, LiftMaster, Wayne Dalton, Craftsman and Raynor. The brand matters because different systems have different failure patterns, and we’re familiar with most of them. Call (855) 339-8305 for a free estimate.
Run the ten-minute check once a month, and the balance test along with it. Doors used as a main entry point get daily wear, and monthly checks catch the small issues before they become the big ones. If anything looks off, call (855) 339-8305 for an exact quote; estimates are free.
The Bottom Line
Most garage door warning signs sort themselves into three tiers, and the tier matters more than the symptom. Stop using the door for a snapped spring, a frayed cable, or a door that slams or comes off its track. Book within the week for a door that reverses unexpectedly, strains, or won’t hold halfway. Monitor and service soon for slow travel, one loud roller, or a worn bottom seal. Run the balance test once a month to catch spring problems early, and inspect the bottom 18 inches of the door first. When something looks like Tier 1 or Tier 2, or you’re just not sure, that’s the point to call. We’re the starting point for a straight diagnosis in Vallejo.
If you’d like a second set of eyes on your door, Trailhead Garage Door Repair can help. Call (855) 339-8305 for a free estimate. We answer 24/7 with fast dispatch from 7am to 7pm, Sunday through Friday.
Written by the team at Trailhead Garage Door Repair.