
Last updated November 15, 2026
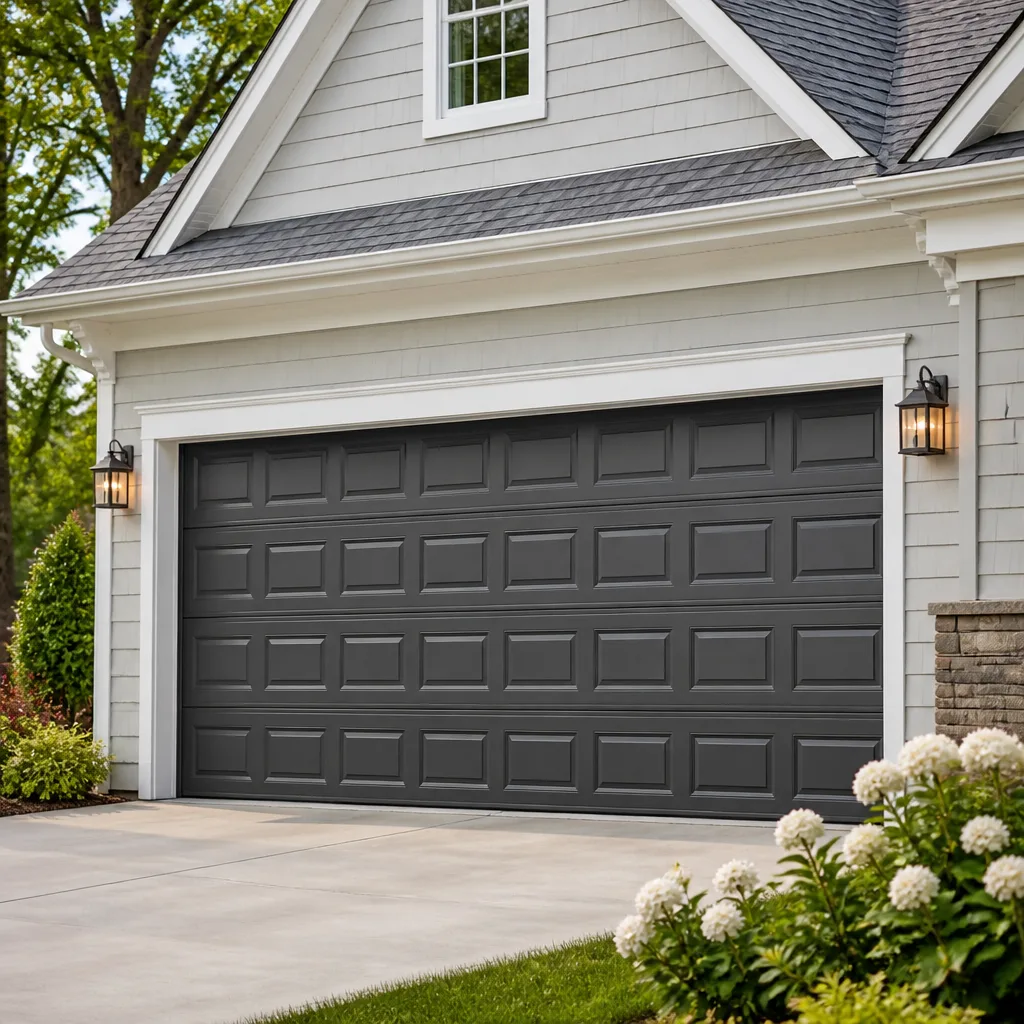 Raised-panel steel
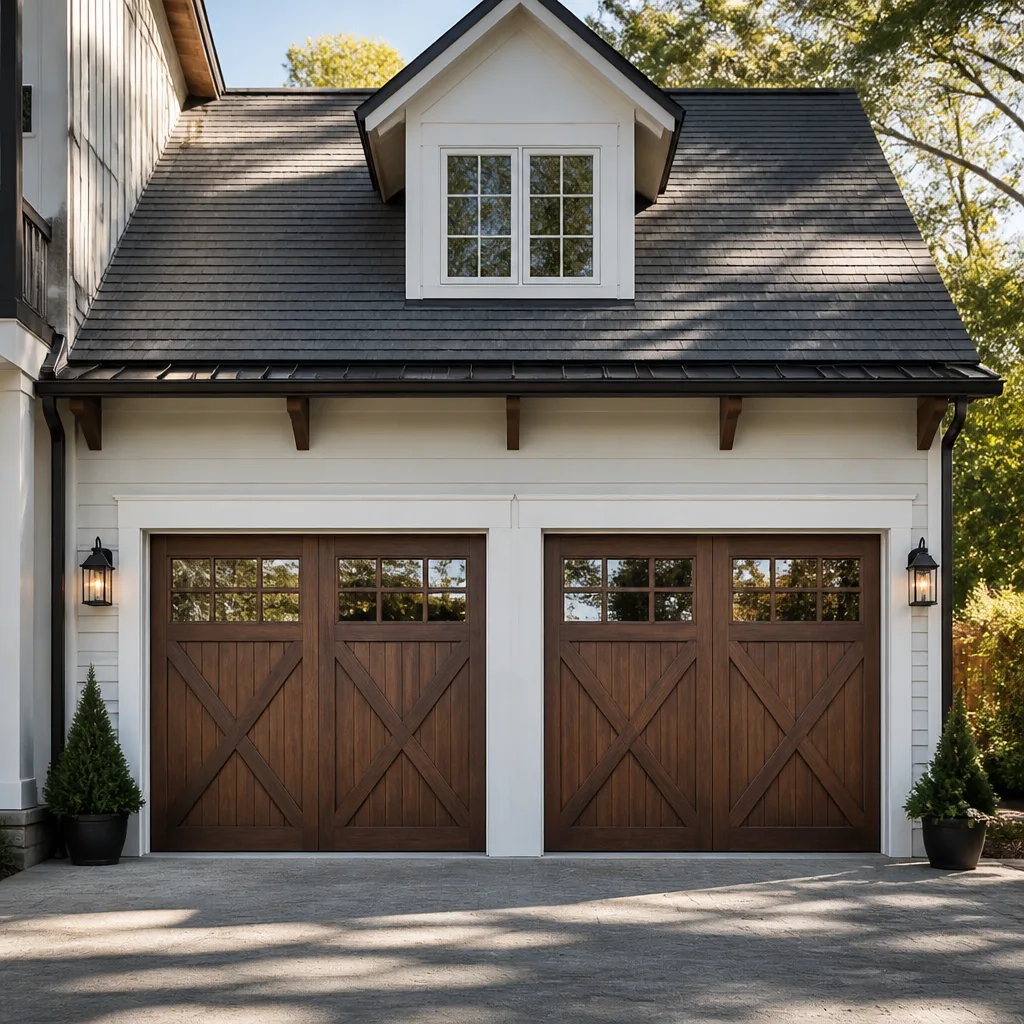 Carriage house
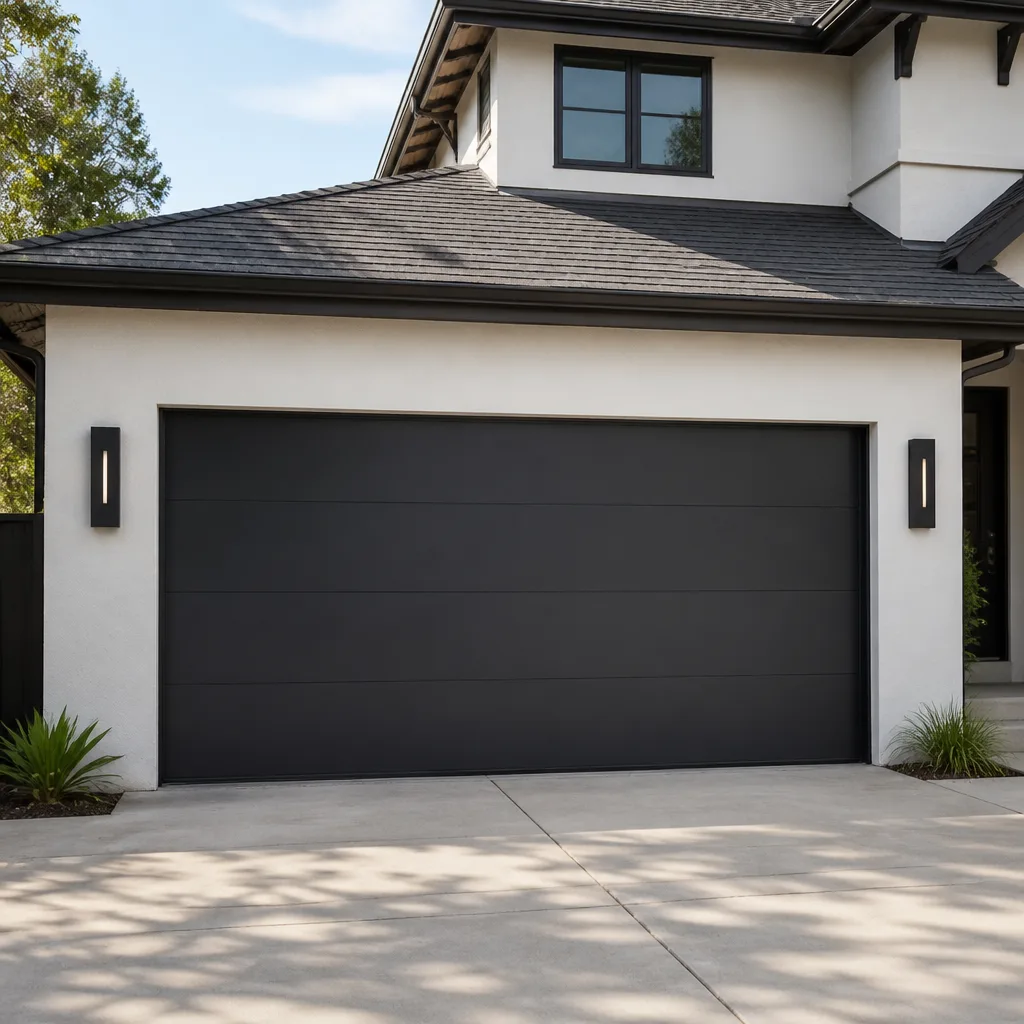 Modern flush
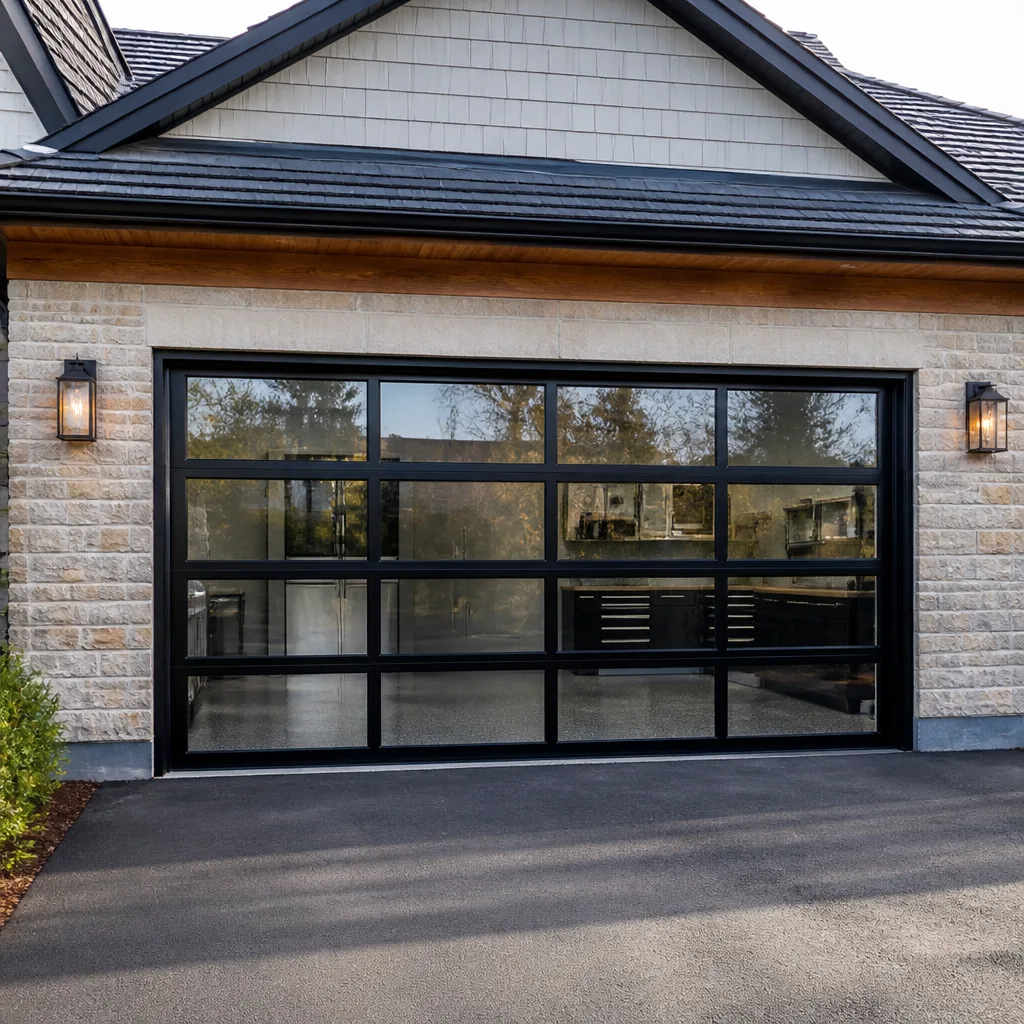 Full-view glass
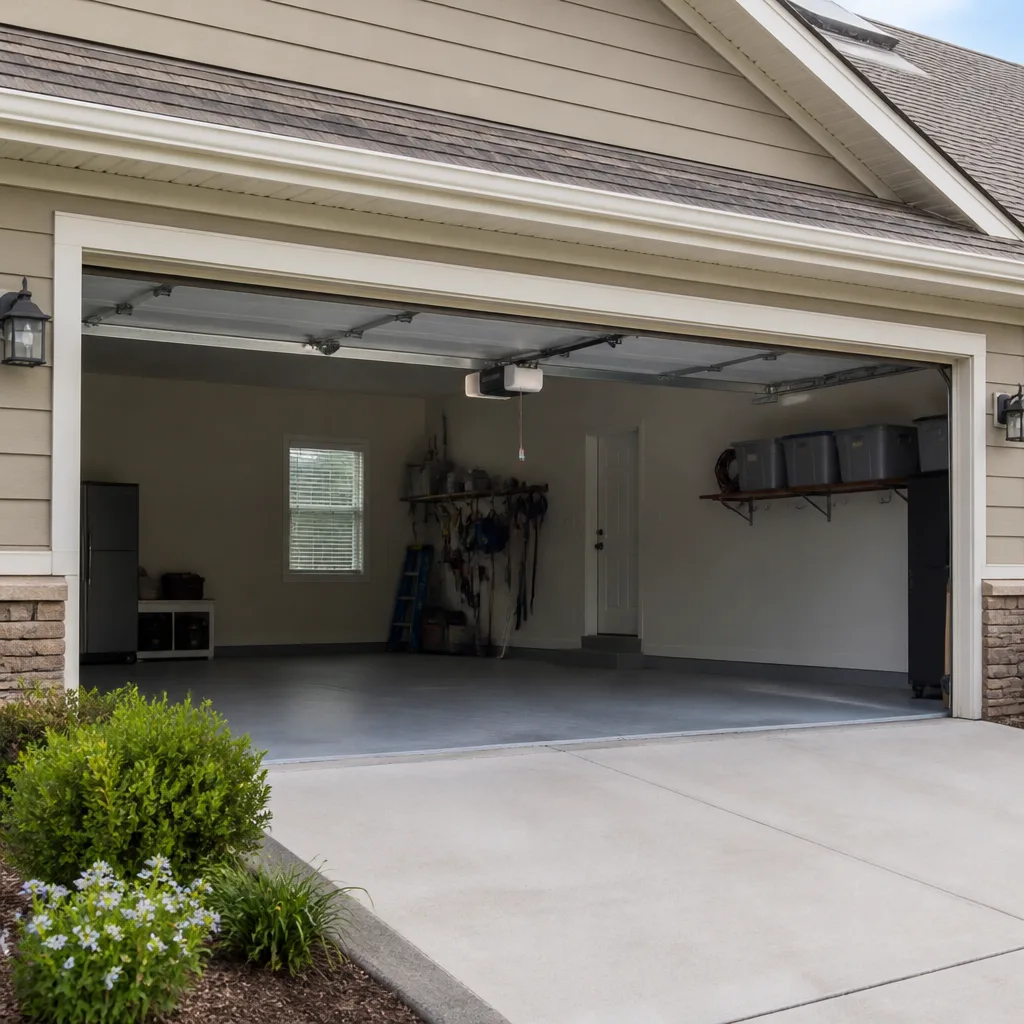 LiftMaster openers
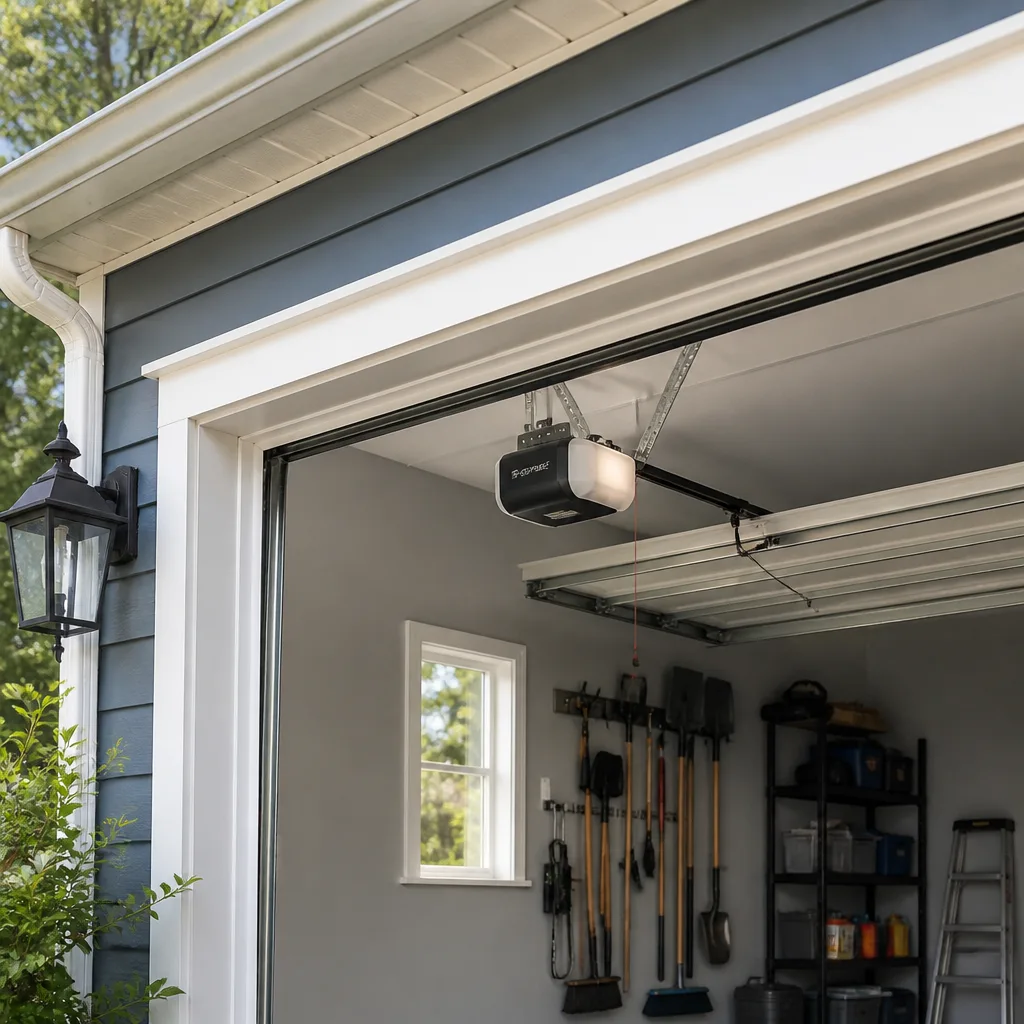 Chamberlain openers
Full 25-point door and opener safety check with every visit - springs, cables, rollers, tracks, and your LiftMaster or Chamberlain opener included
You get a price before we start. It does not change when the pro arrives.
Get your free estimateGarage Door Repair Maintenance Checklist for Vallejo Homeowners
Most maintenance checklists recycle the same advice: lubricate the springs, tighten the bolts, call it a day. That advice applies nowhere in particular, which is exactly why so many Vallejo doors fail anyway. The number-one source of a garage door emergency call we see isn’t a snapped spring at all. It’s a corroded bottom bracket that nobody knew belonged on the checklist in the first place. The part costs very little and the failure costs a lot, which is the whole argument for prioritization. This guide ranks your door’s components by how fast they escalate from a small annoyance to an expensive repair, built around the conditions Vallejo doors actually live in. You’ll get a workable schedule you can run through in under fifteen minutes a season.
Quick Answer
A garage door maintenance checklist for Vallejo should be run quarterly, with a deeper inspection each spring and fall. Prioritize the bottom brackets, rollers, and cable drums first, since those parts degrade fastest under the temperature swings between foggy mornings and dry summer afternoons. Lubrication, weatherstripping, and balance testing come after, and a two-car door generally needs attention more often than a single door because it cycles heavier and more frequently.
Styles & brands we work with
- Raised-panel steel
- Carriage house
- Modern flush
- Full-view glass
- LiftMaster openers
- Chamberlain openers
Table of Contents
- What order do garage door parts fail in Vallejo?
- Why low hardware fails first and what to check
- Which lubrication products hold up here
- How to inspect weatherstripping for dry-season shrinkage
- Cable drum inspection most checklists leave out
- Two-car door versus single: why intervals differ
- A season-by-season maintenance schedule
- Brand notes: Amarr, Wayne Dalton, Craftsman, Raynor
What order do garage door parts fail in Vallejo?
In our experience, Vallejo doors fail in a fairly predictable sequence, and knowing that order is what makes a checklist useful instead of a chore. The gap between foggy mornings in the flats and dry summer afternoons up toward the hills puts the door through a slow, repeated cycle of condensation and drying. Metal parts that hold moisture oxidize faster than owners expect. Parts that flex under that cycling work-harden and crack. That single pattern explains most of what we see when we open up a door that’s been neglected.
Here’s the ranked sequence, from first to fail to last:
- Bottom brackets and bottom rollers. Sitting lowest, closest to ground moisture, and under constant load from the door’s weight, these corrode and seize first. A corroded bottom bracket can fail without warning and let a cable go slack.
- Nylon rollers and hinges. The plastic wears and flattens, the door gets noisy, and the track starts taking the load it shouldn’t.
- Cable drums. Cables wrap around these under spring tension every single cycle. They’re the component most likely to be ignored entirely (more on this below).
- Weatherstripping and bottom seal. Heat cycles shrink and stiffen the rubber across a dry summer, opening gaps at the floor.
- Springs and opener hardware. These usually last longer, but they’re the loudest when they finally give.
Ranking by failure rate rather than alphabetical order is the difference between a checklist that prevents emergency calls and one that just makes you feel diligent. Spend your inspection time at the bottom of the door first. If you want a second set of eyes on the whole system, our garage door repair team handles Vallejo doors from the bottom bracket up.
Why low hardware fails first and what to check
The bottom of your door is a wet, heavy place. During Vallejo’s foggy mornings, condensation settles on the lowest hardware and stays there through the cool part of the day. The door’s entire weight passes through the bottom brackets into the cables, so any corrosion weakens a part that’s already under real load. That combination is why we treat the bottom bracket as the single highest-priority inspection point on any Vallejo door.
Here’s what a careful check looks like:
- Look for rust-colored staining or white powder on the bracket. Both point to metal breaking down under damp conditions.
- Test roller movement by hand with the door fully closed and the opener disconnected. The bottom roller should spin freely with no grinding or wobble.
- Check that the bracket bolts are tight but not over-torqued. Backing out and stripping threads is its own failure.
- Look at the cable where it meets the bracket for fraying, kinks, or loose strands.
If the bracket looks corroded, don’t try to remove it. Bottom brackets and the cables running through them sit under spring tension, and a slip can cause serious injury. This is the point where a trained technician should take over, because the same job done wrong can drop the door.
Weather plays a role here too. Vallejo winters are mild enough that the hardware isn’t frozen for months, but the damp mornings mean corrosion runs year-round. Our Trailhead Garage Door Repair technicians check bottom hardware on every visit because we’ve seen how quickly the corrosion pattern builds up.
Which lubrication products hold up here
The right lubricant for Vallejo is one that keeps working across the temperature swings between a cool, damp morning and a warm, dry afternoon. That’s a narrower requirement than most product labels suggest. Thin oils run off in the heat and leave the rollers dry by mid-summer. Grease grabs grit and becomes grinding paste. The middle ground is a purpose-made garage door lubricant, and there are a few that hold up better than the rest.
What works, and what to avoid:
- Use a lithium-based or silicone-based garage door lubricant designed for metal-on-metal contact. These hold film thickness through temperature changes.
- Spray the roller stems where they emerge from the hinge, not the roller wheels themselves. Lubricating the wheel surface attracts dirt into the track.
- Lubricate hinges at the pivot points, the torsion springs lightly, and the lock mechanism. Skip the track itself unless you use a very light film to keep it from rusting.
- Avoid household oils like WD-40 for ongoing lubrication. It penetrates well but doesn’t last. It’s a cleaner, not a coating.
- Avoid heavy grease on any moving part. Vallejo’s dry summer airborne dust binds to it and accelerates wear.
Apply lubricant once per season for a door that runs smoothly, and inspect for drips or buildup after each application. Degradation here is faster than most owners expect because the fog-to-dry cycle strips thin films off the metal. If you’re unsure what your specific door needs, we stock and use door-specific lubricants on every repair visit.
How to inspect weatherstripping for dry-season shrinkage
Vallejo’s summer afternoons dry out the rubber and vinyl in your bottom seal and side weatherstripping faster than most people realize. When a door sits in closed position day after day through a dry stretch, the seal takes the heat directly against the concrete floor. The pattern that develops is particular: the seal shrinks slightly, curls up or splits at the corners, and leaves a gap of a quarter inch or more at the floor and along the vertical edges.
What to check, and how:
- Run your hand along the closed seal at floor level. Any gap bigger than a folded piece of paper is a lifetime problem for the seal and a door in the gap for outside air.
- Look for cracking at the corners and along the bottom lip. These are the first places a shrunk seal splits.
- Check the vertical sides by closing the door and shining a light from outside. Any visible light means the seal has pulled away.
- Look at the threshold itself for debris or uneven settling. Occasionally a gap is a floor problem, not a seal problem.
Weatherstripping is a good item to replace on a schedule, not on failure. A stiff, brittle bottom seal cracks, and a cracked seal lets moisture sit against the bottom brackets – back to that first failure point. Replacing the bottom seal takes a technician a short visit and takes one of the highest-wear items off your worry list.
Cable drum inspection most checklists leave out
Cable drums are the components most homeowner checklists omit entirely, and that’s a problem. Every cycle, the cable winds and unwinds around a drum under the full tension of the door’s springs. If the drum slips, cracks, or lets the cable jump its groove, the door can drop. That makes it one of the leading causes of serious garage door failures, and one of the easiest things to look at during a routine inspection, as long as you keep your hands out of it.
A safe inspection looks like this:
- Look at the drum with the door closed. You’re checking for cracks, dents, or wear marks on the cable channel.
- Check that the cable winds evenly and isn’t overlapping or jumping the groove.
- Look for loose or frayed cables where they meet the drum. Any broken strands mean the cable is on its way out.
- Listen during operation. A healthy drum is quiet. A clicking or rattling drum is telling you something.
What you should never do is touch the cable or attempt to release it. Cables under spring tension can cause serious injury even when you think the springs are relaxed. Drums also have a specific pairing with your spring system, so a crack or worn channel means the door needs a professional inspection, not a tightening. Get a technician to look at it. Our garage door opener repair visits frequently uncover drum problems that were created by a door running unevenly against a struggling opener.
Two-car door versus single: why intervals differ
The same quarterly schedule doesn’t work for every door in Vallejo. A two-car door typically carries more weight, more surface area, and more cycles than a single door. If your garage is the main entry point for the whole household, a two-car door might run six to ten cycles a day. That’s somewhere between two and three thousand cycles a year, versus a single door on a house using the garage less often. The wear scales with cycles, not with wall time.
What that means for your inspection frequency:
- Single door used as a main entry: quarterly lubrication, visual bottom-hardware check, and a full inspection each spring and fall.
- Two-car door used as a main entry: monthly visual checks on the bottom hardware and rollers, lubrication every six to eight weeks, and a full inspection each spring and fall.
- Single door on a garage that’s rarely cycled: quarterly lubrication is fine, but don’t skip the inspection, because parts that sit still in damp conditions corrode just as fast.
Door brand also shapes the interval. An Amarr or Raynor double door with heavier-gauge hardware may hold up longer per cycle than a lightweight panel door, but the sheer weight amplifies any imbalance. We’ve found the bigger factor is cycle count, not the label on the door. Count how many times yours opens on a typical day and set the interval from there.
A season-by-season maintenance schedule
A season-by-season schedule is the simplest way to keep a Vallejo door in shape. Each season brings a different pressure on the door, and matching the inspection to the season keeps you from skipping the parts most likely to fail at that time.
Here’s the schedule we recommend for any Vallejo homeowner:
- Spring (March-April): Full inspection after the wet winter season. Check bottom brackets for corrosion, replace weatherstripping if the seal has stiffened, and lubricate all moving parts.
- Early summer (May-June): Balance test and opener safety check. Disconnect the opener and lift the door by hand – if it won’t hold at halfway, the springs need professional attention. Test the auto-reverse function with an object under the door path.
- Mid-summer (July-August): Weatherstripping check as the dry season peaks. Look at the bottom seal and vertical seals for shrinkage.
- Fall (September-October): Re-lubricate and check rollers for wear. Tighten hinges and inspect the cable drums. Replace anything showing cracks or looseness.
- Late fall (November): Clear track debris, test the full door cycle with the opener, and note anything that’s louder than it was last year.
- Winter (December-February): Keep an eye on damp weather. Spot-check the bottom brackets after a wet stretch.
That’s roughly fifteen minutes per season, and it catches most of the failure patterns before they become emergencies. If you want a one-time baseline inspection, our Vallejo team offers free estimates on any repair work, and the inspection tells you where the door actually stands.
Brand notes: Amarr, Wayne Dalton, Craftsman, Raynor
Not every brand ages the same way under Vallejo conditions, and knowing the door on your house changes what you check first. We work on Amarr, Wayne Dalton, Craftsman, and Raynor regularly, along with four other leading brands. Each has its own pattern of what wears first.
- Amarr panel doors tend to hold their finish well, but the bottom seal and roller hardware on their heavier-gauge models take more load per cycle. Check rollers and weatherstripping more frequently on two-car Amarr doors.
- Wayne Dalton doors often use lightweight torsion hardware. That means the spring balance check matters more than the hardware tightening check, since a lighter system reacts more to small changes in tension.
- Craftsman openers, still common in Vallejo garages, are a frequent source of “the door is fine but it won’t open” calls. On a Craftsman system, you’ll want the opener checked alongside the door mechanics.
- Raynor doors often come with their own spring configuration. Raynor drum and cable hardware should be inspected by a technician rather than adjusted at home.
If your door is one of our eight brands (LiftMaster, Chamberlain, Genie, Clopay, Amarr, Wayne Dalton, Craftsman, or Raynor), we already know the failure pattern to expect before the first visit. That’s the practical advantage of working with a garage-door-only specialist rather than a general home-repair service. Our technicians have up to 11 years of experience, and they’ve seen most of what these eight brands do under Vallejo weather.
Common Mistakes to Avoid
- Treating the checklist as alphabetical. Lubricating everything first and inspecting the bottom hardware last is backwards. The bottom is where failure starts in Vallejo, so inspect it first.
- Using household oil as a long-term lubricant. It penetrates well and lasts badly. Thin oil runs off in summer heat and leaves rollers dry. Use a garage-door-specific lubricant.
- Ignoring the bottom seal until it splits. Replacing a shrunk weatherstripping seal is cheap and quick. Replacing the bottom bracket it was letting water into is neither.
- Skipping the cable drum inspection. Most owners never look at the drums at all. That’s the component most likely to cause a sudden, dangerous drop.
- Running the same schedule for a single and a two-car door. The heavier door needs monthly checks, not quarterly. Cycles matter more than months.
- Testing the balance by hand on a loaded door. If the springs are under tension, lifting the door by hand can cause injury. Disconnect the opener and test with the door in closed position, or call a technician.
- Replacing the opener without checking the door. A failing opener on a Craftsman or Chamberlain system is often a symptom of a sticking door or worn rollers. Fix the door first.
See the difference
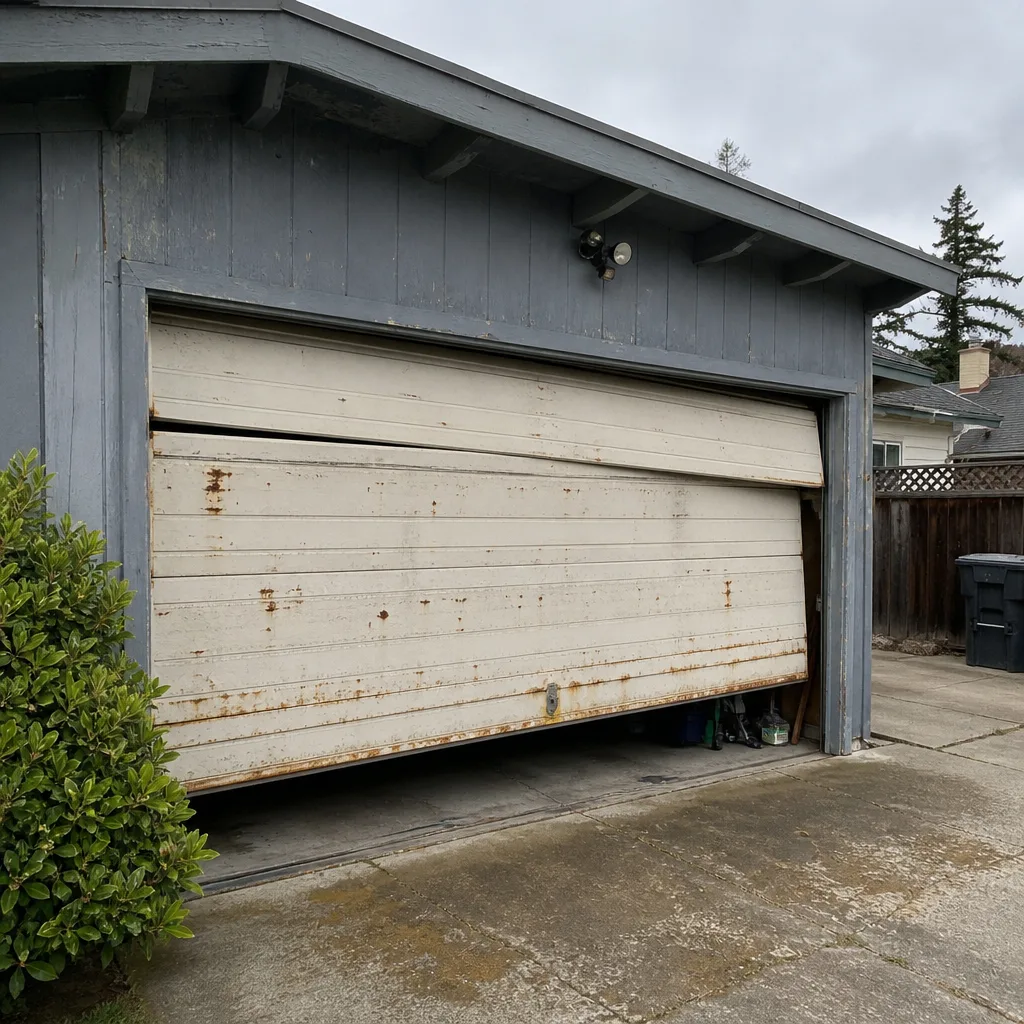 Before
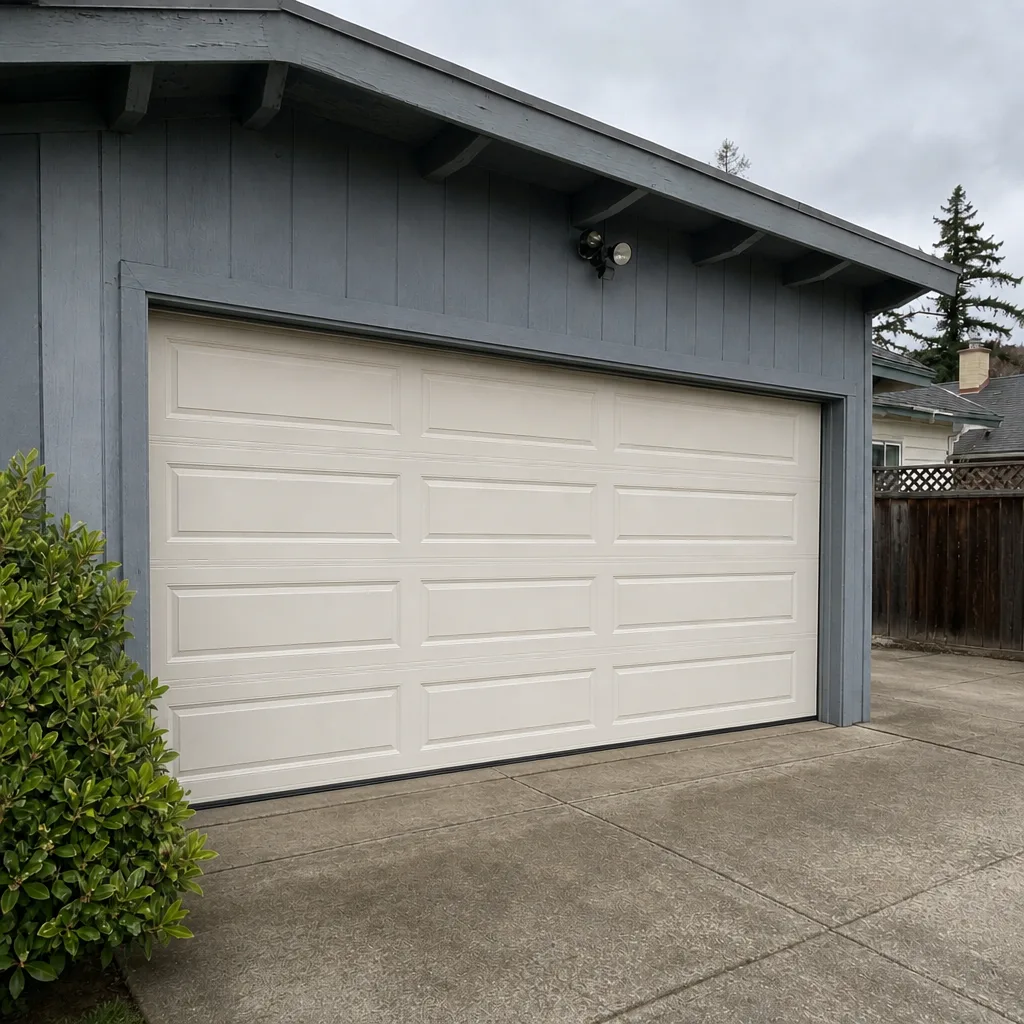 After
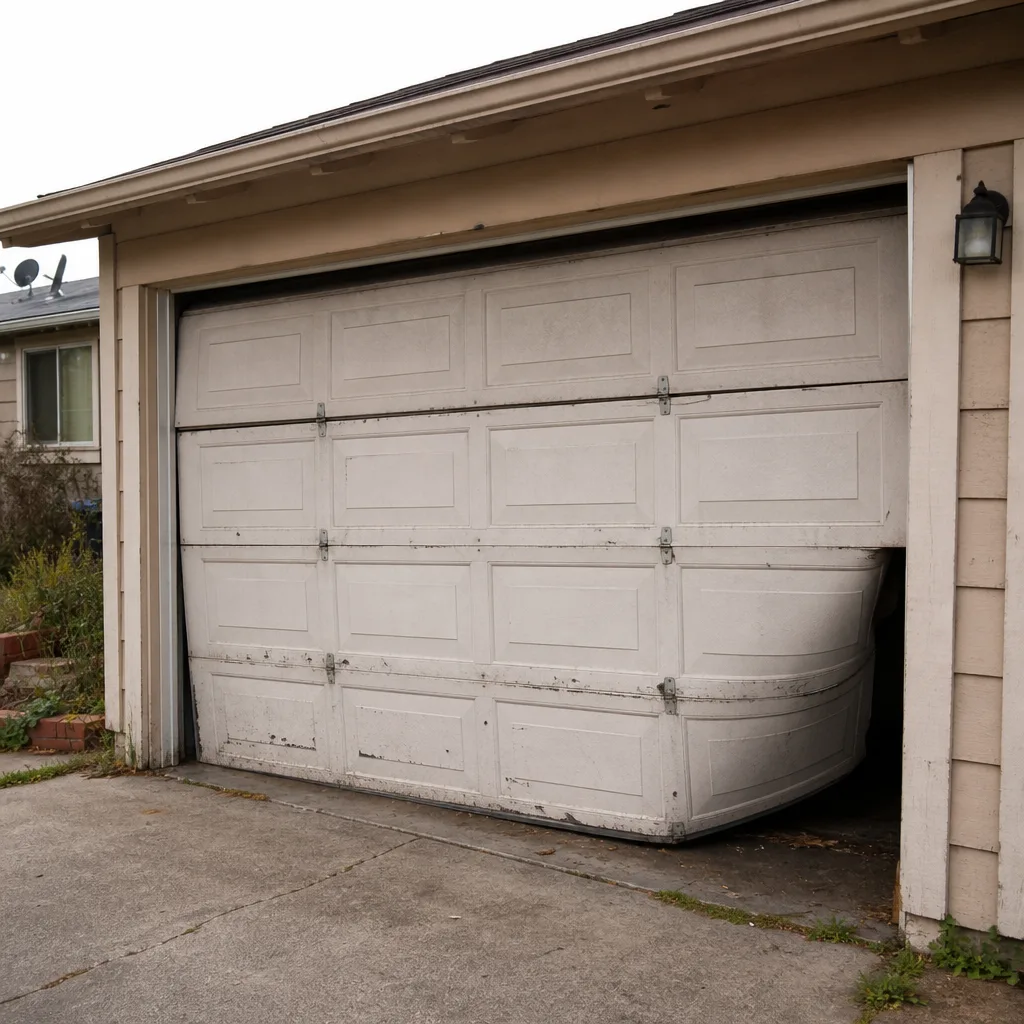 Before
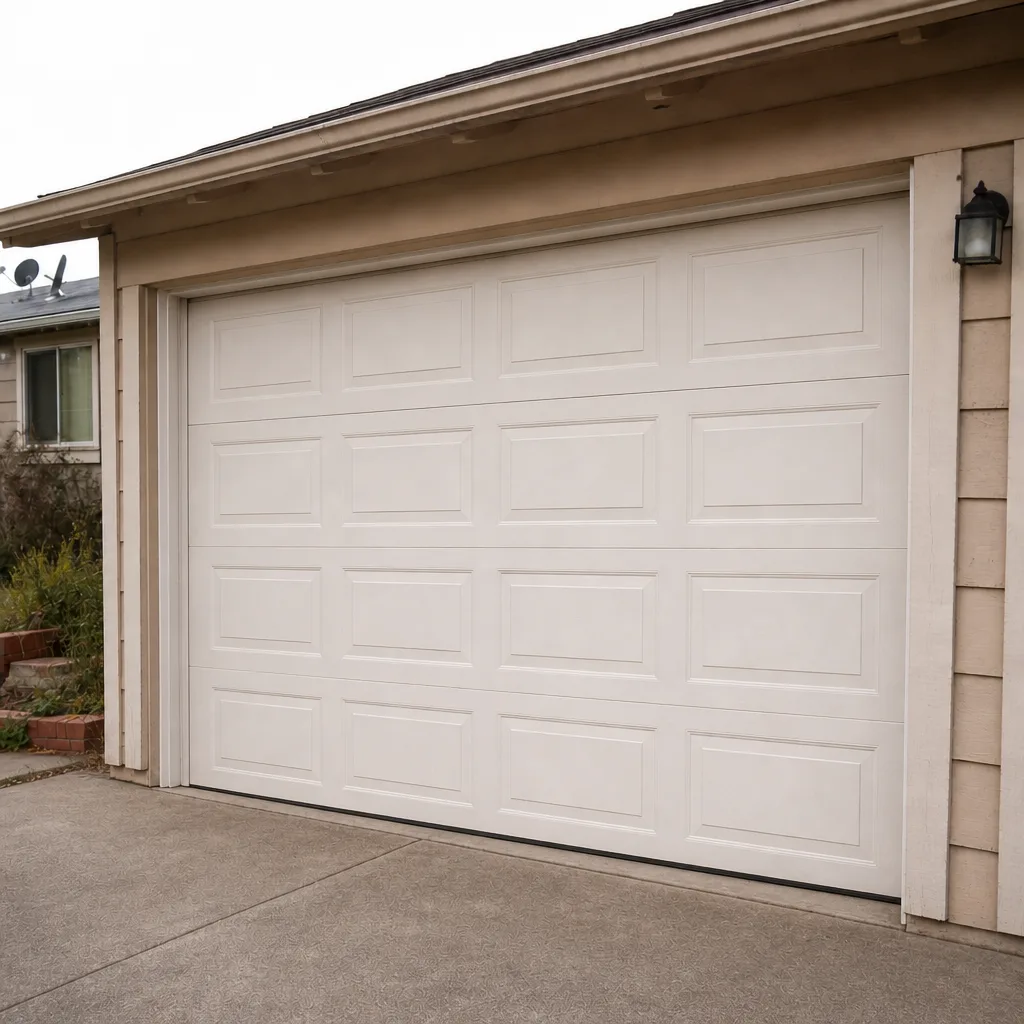 After
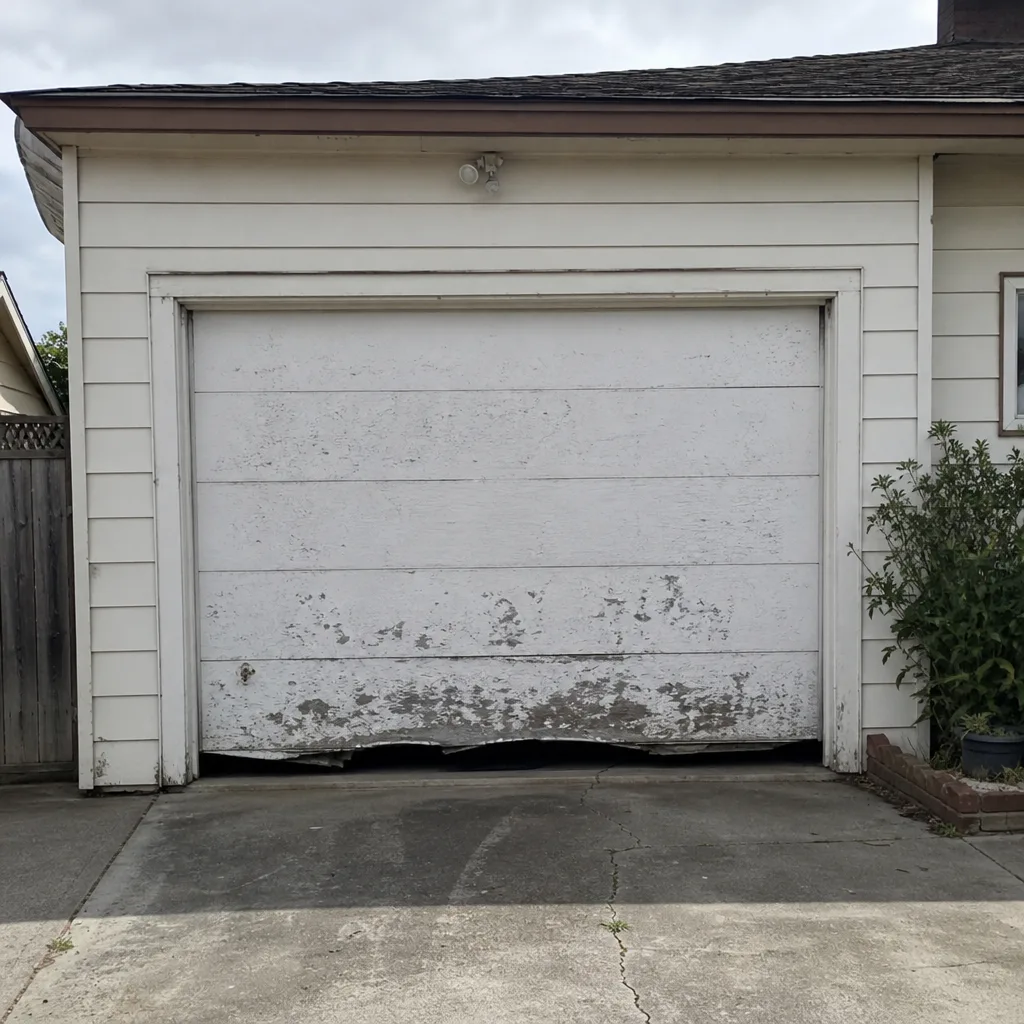 Before
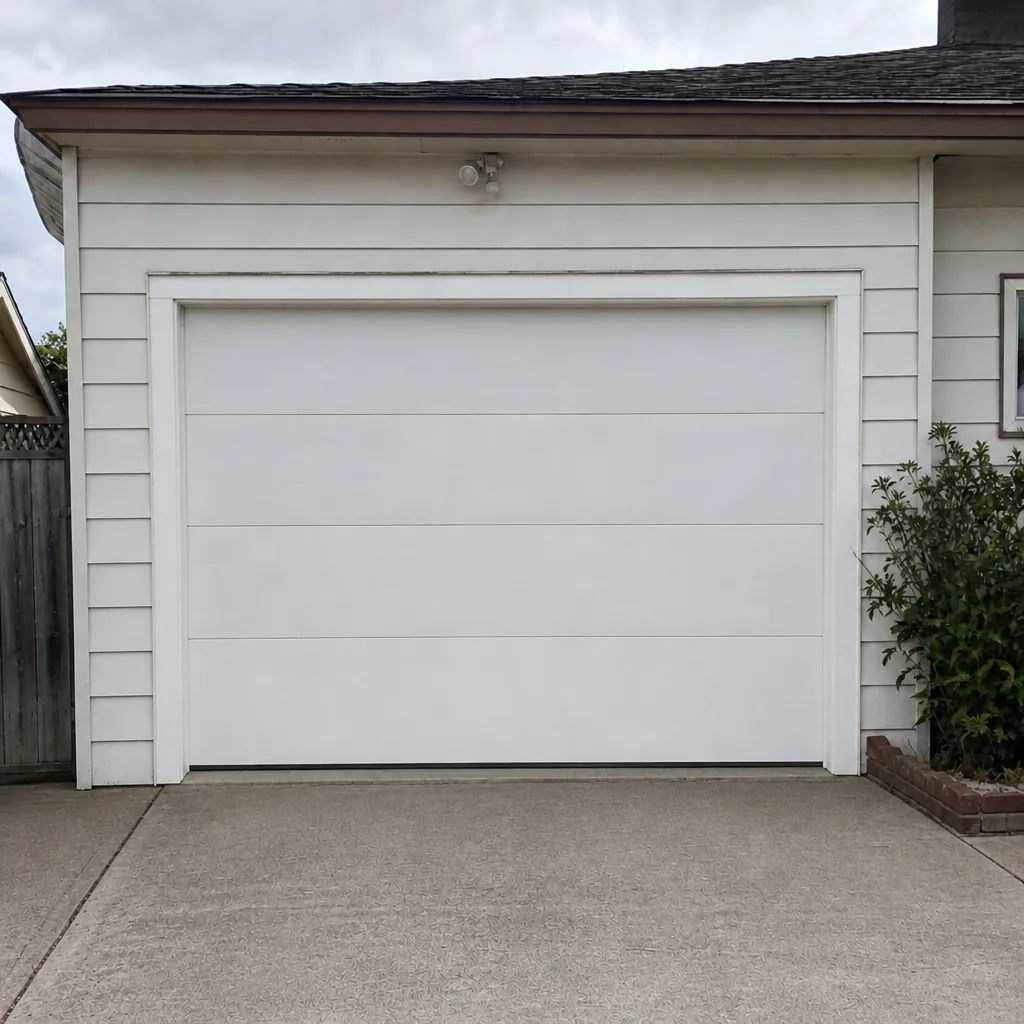 After
When to Call a Professional
A few of the checklist items above are homeowner territory: lubricating, looking, listening, and replacing a bottom seal. Others are not. If you see a corroded or cracked bottom bracket, a frayed or kinked cable, a drum with cracks or worn grooves, a balance test that fails, or a spring that’s visibly gaping or broken, stop and call a technician. These parts store enough energy to cause serious injury, and the only safe way to fix them is with a trained hand and the right tools. Same thing for an opener that’s grinding, refusing to reverse, or running the door unevenly – the electrical and mechanical parts need to be checked together.
Trailhead Garage Door Repair offers free estimates in Vallejo. Call (855) 339-8305. We answer 24/7, with fast dispatch from 7am to 7pm, Sunday through Friday. The price is quoted and agreed before any work starts, so you don’t get surprised after the fact.
Frequently Asked Questions
A garage door in Vallejo should be checked quarterly and fully inspected twice a year, once after the wet winter season and once before the dry summer. A two-car door used as a main entry may need monthly visual checks on the bottom hardware and rollers because it cycles more often. Lubrication is seasonal, and weatherstripping is worth looking at every mid-summer as the dry season peaks. Call (855) 339-8305 for an exact quote on any repair work – estimates are free.
Vallejo’s temperature swings are the cause. Foggy mornings leave condensation on metal, and dry summer afternoons shrink rollers, weatherstripping, and the metal track slightly. A door that sounds fine during the damp season often rattles and groans during the dry months because the tolerances have opened up. Lubrication and roller checks usually quiet it back down. If the noise is coming from a cable drum or the springs, that’s a professional call.
Close the door and look at the bottom brackets on each side for rust-colored staining, white powder, or loose bolts. That visual check takes under a minute and catches the most common Vallejo failure. Check the cable where it meets the bracket for fraying. Never try to release or tighten the bracket yourself – the cable under it is under spring tension and can cause serious injury. Call (855) 339-8305 for a licensed and insured technician inspection.
A garage-door-specific lithium or silicone lubricant holds up to the temperature swings between Vallejo’s foggy mornings and dry summer afternoons. Thin household oils run off in the heat and leave rollers dry. Heavy grease grabs airborne dust. Apply it to roller stems, hinge pivot points, and lightly to the torsion springs – skip the track surface unless you use a very light film to keep it from rusting. Call (855) 339-8305 to book a technician if you’d rather not do it yourself.
Yes, on same-day inspection and repair, we can. We answer 24/7 and dispatch technicians from 7am to 7pm, Sunday through Friday. The price is quoted and agreed before work starts, so you know what you’re paying before we touch the door. Call (855) 339-8305 to schedule.
Any Vallejo door benefits from the same quarterly-and-twice-yearly approach, but the temperature gap between the foggy flats and the dry hills means doors closer to the dry inland edge see faster weatherstripping shrinkage over a summer. In those spots, check the bottom seal more often. No matter where in Vallejo you are, the rank order of what fails first stays the same: bottom brackets, rollers, drums, then seals.
The Bottom Line
A maintenance checklist only works when it puts your attention in the right place. In Vallejo, that place is the bottom of the door – the brackets, rollers, and cable drums that see the most moisture and weight. Lubrication, weatherstripping, and balance testing all matter, but they come after the parts that fail fastest. Run the visual checks quarterly, do a full inspection after the wet season and before the dry one, and give a two-car door the tighter schedule it earns. The fifteen minutes you spend will save you the emergency call. If anything on the list looks corroded, frayed, cracked, or loose, stops there and call a technician.
Trailhead Garage Door Repair works on garage doors and nothing else, across eight major brands. Call (855) 339-8305 for a free estimate. We answer 24/7, with fast dispatch from 7am to 7pm, Sunday through Friday.
Written by the team at Trailhead Garage Door Repair.